Terminologies
Create terminologies
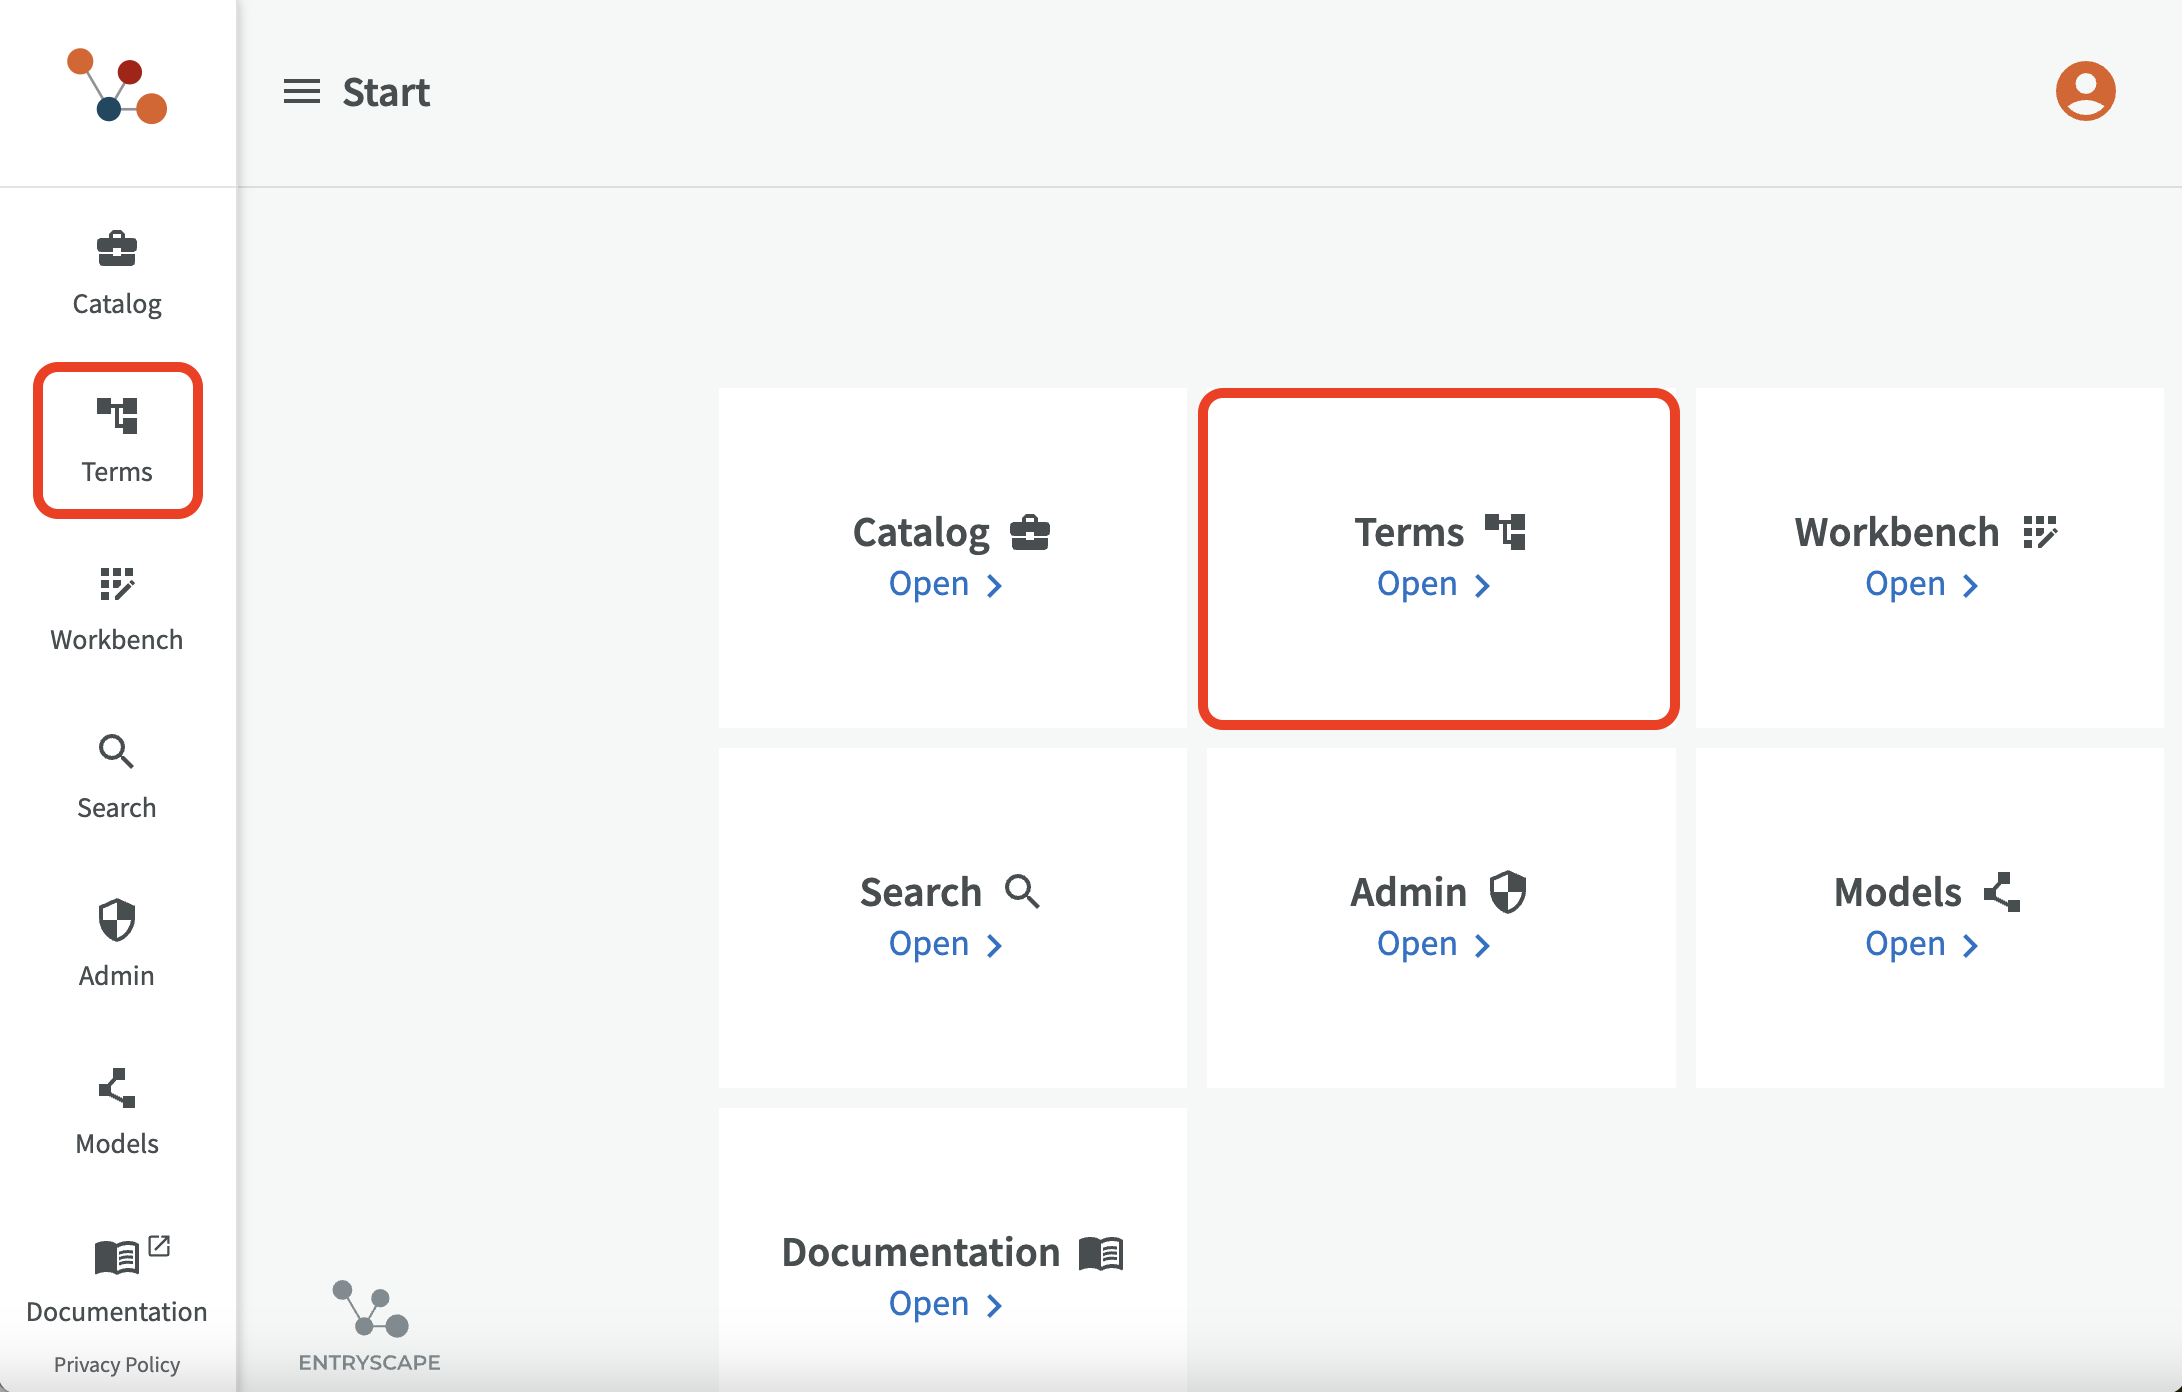
When you log in to EntryScape you come to the main page. To start working with terminologies and concepts, click on "Terms", either in the left menu or in the main view.
Then you come to the overview of the terminologies in EntryScape Terms. Here you see all the terminologies already created and you can search (by terminology name), import existing terminologies (RDF/XML files) or create new terminologies. If you don't see a list of terminologies here, none has been created yet, or your organization has not shared them with you. Under Permissions you can read more about permissions and sharing settings.
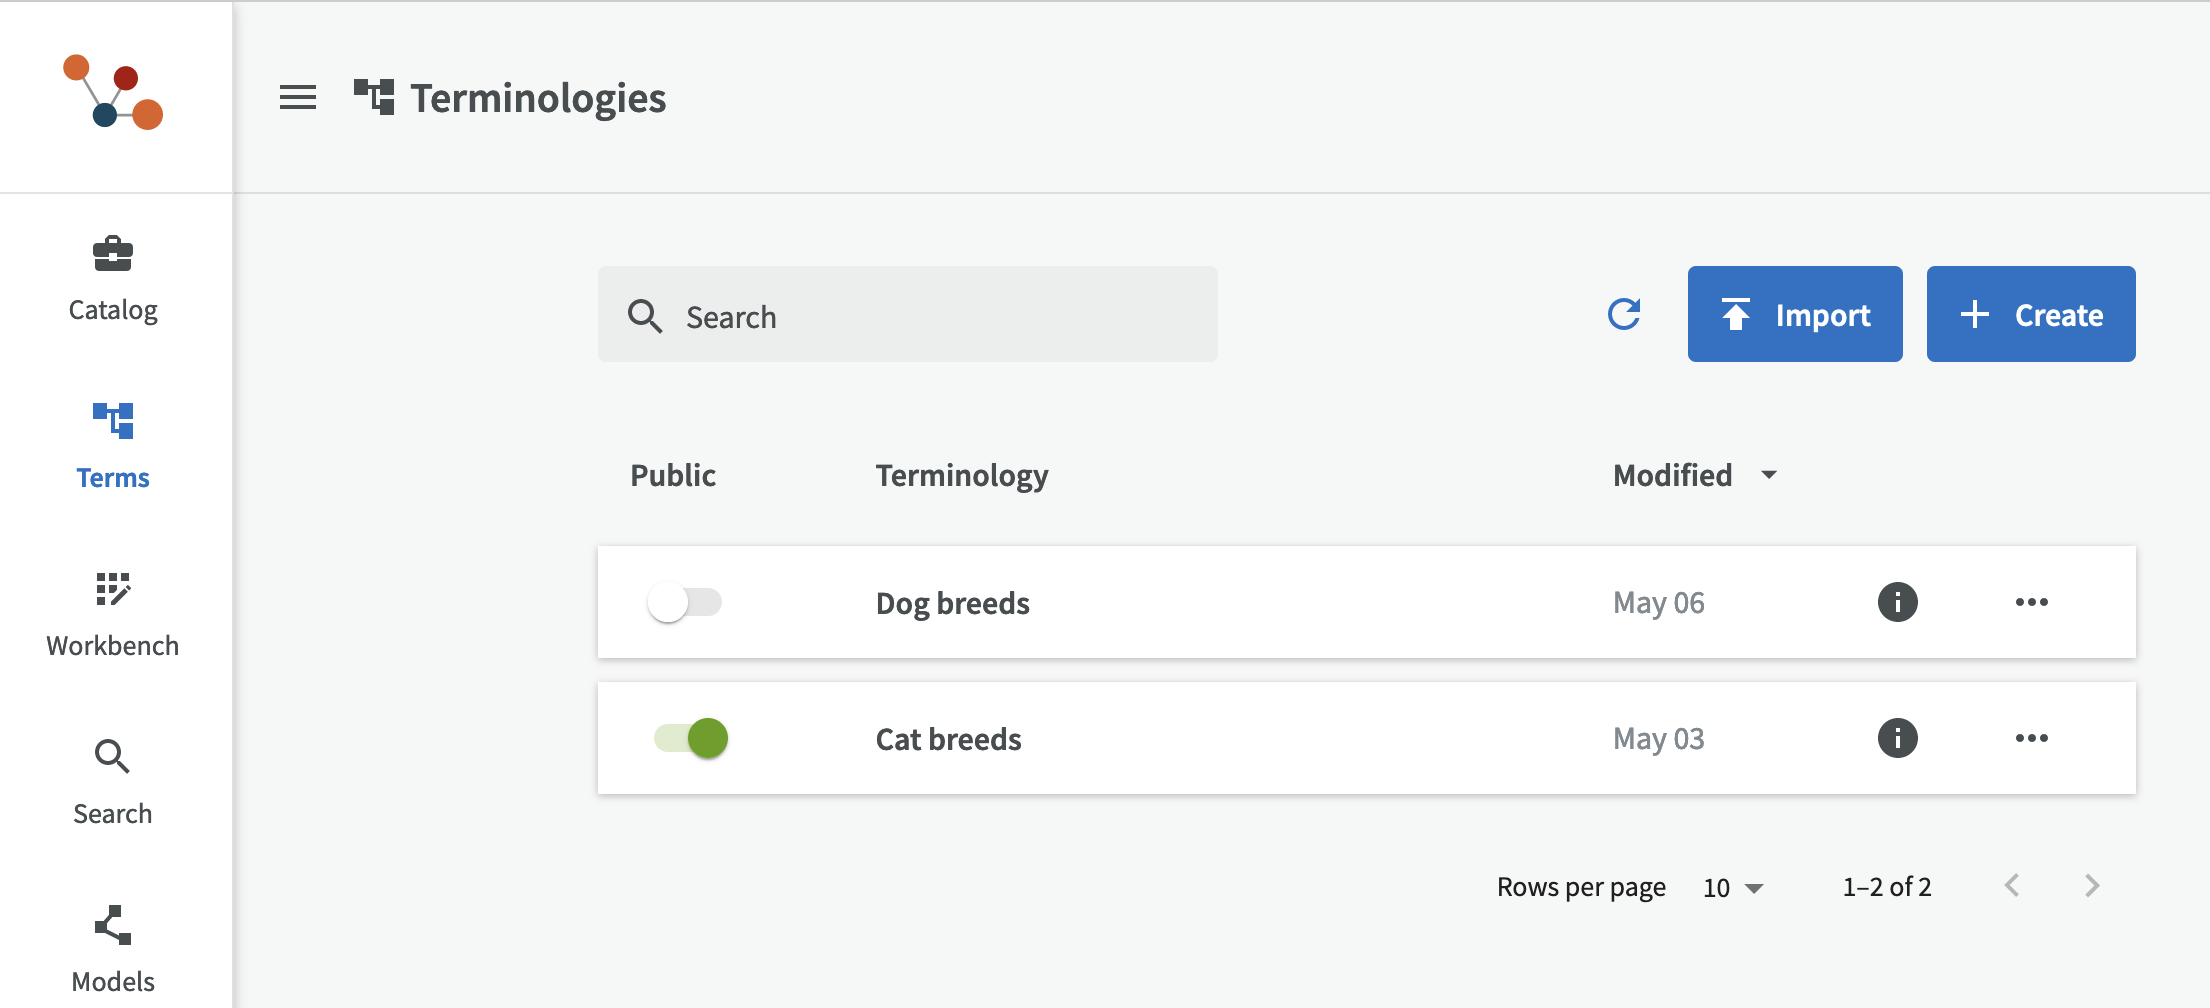
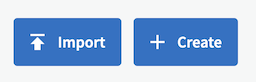
There are two ways to create terminologies in EntryScape Terms. Either you import an existing terminology or you create a terminology from scratch, using the "Import" and "Create" buttons at the top right.
Import terminology
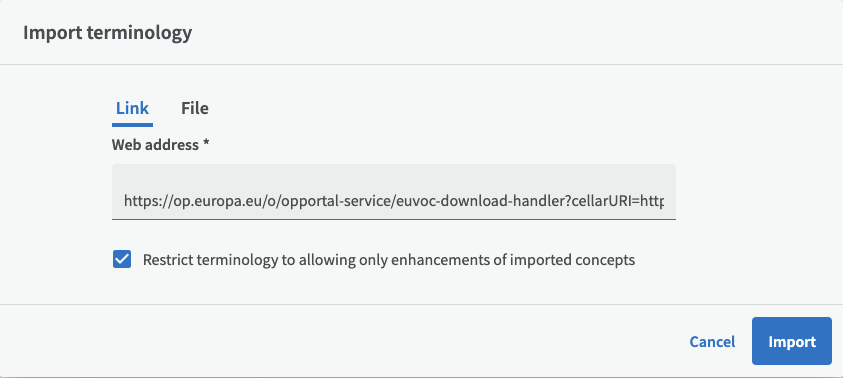
You can import an existing terminology by clicking on the "Import" button. This will open a window where you can choose to either link to a file on the web or upload a file from a local drive. Terminology files should be in the format RDF/XML, which is the standard format for linked data.
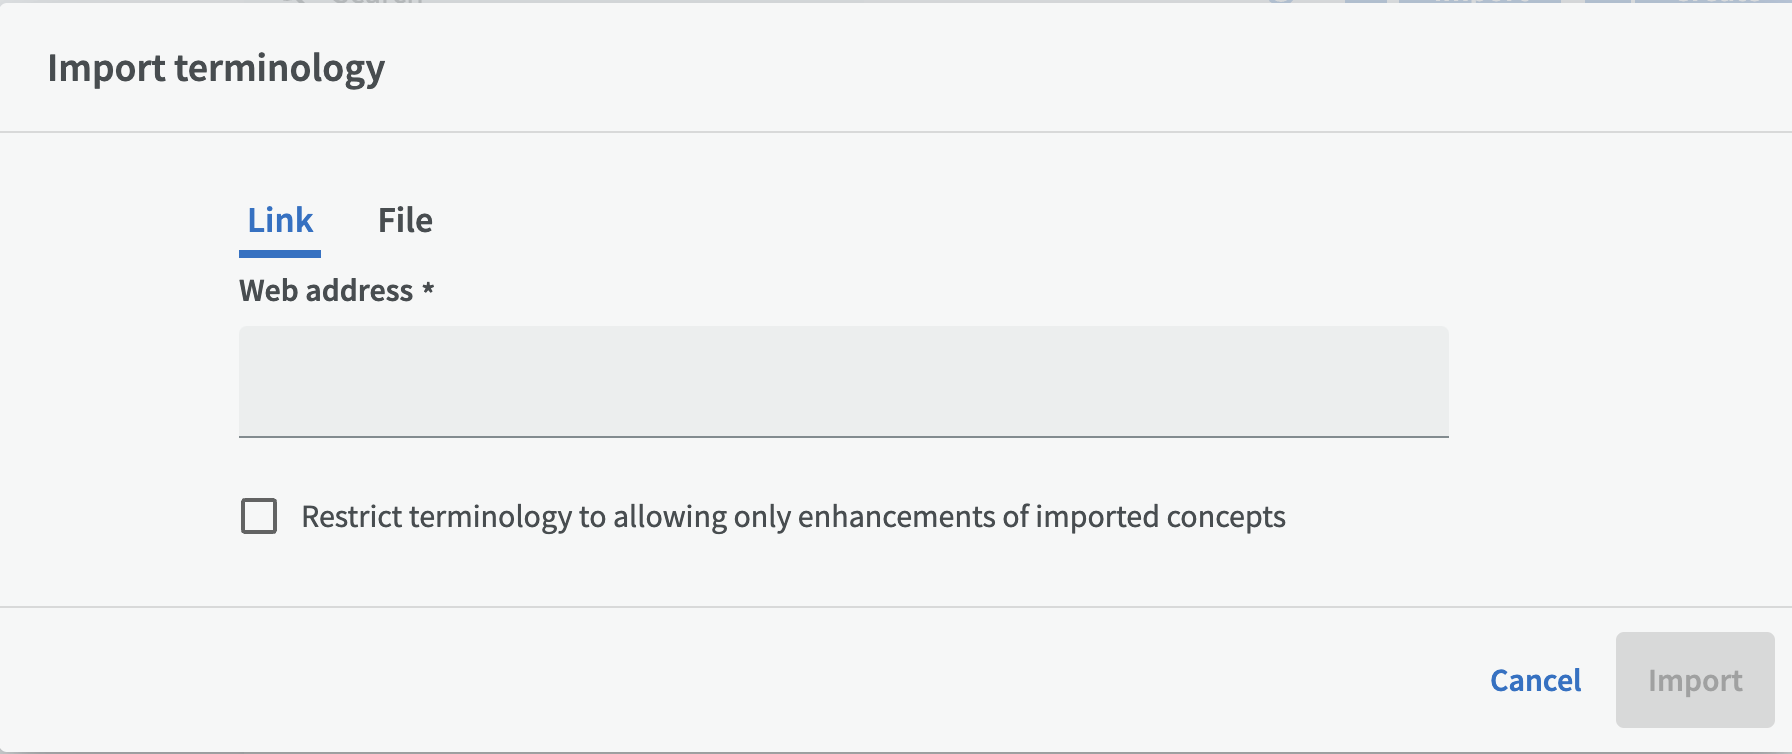
An important thing to decide when importing a terminology is whether you intend to:
1) reuse a terminology from a source that someone else maintains/updates (which you can re-import with their updates)
or
2) create your own standalone copy of the new imported terminology, meaning that you/your organization is responsible for updates and maintenance of the terminology.
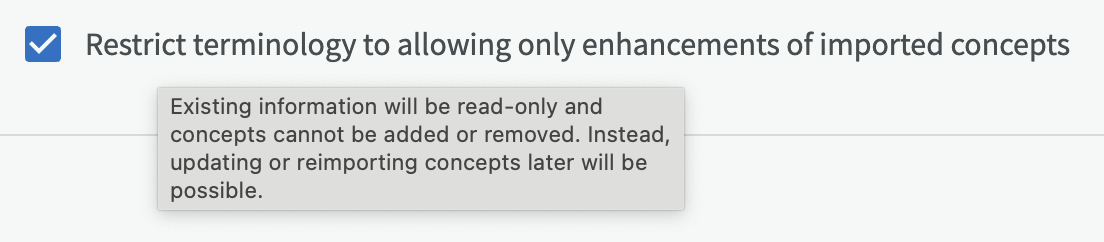
If you go for option 1 and only want to reuse an existing terminology and only re-import new updates, check the box "Restrict terminology to allow only extensions of imported concepts".
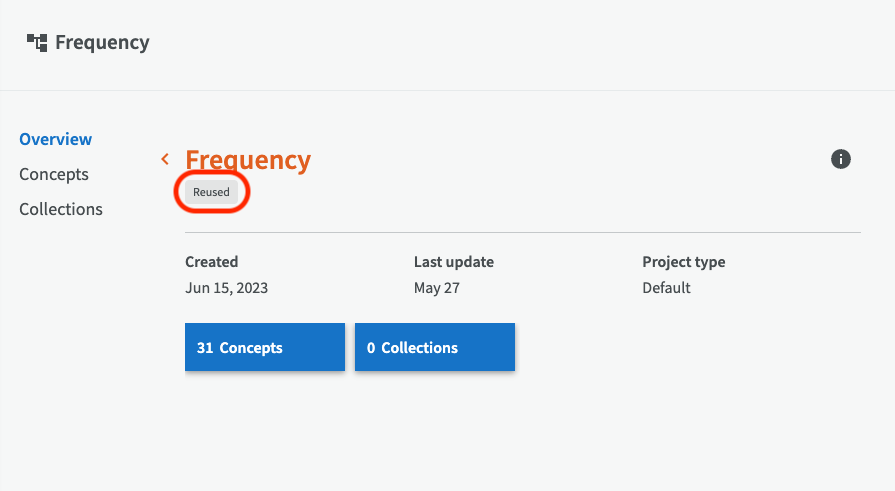
You reused terminolgy is then displayed with a label "Reused", in the list of terminologies and on the overview page for the terminology.
If you instead go for option 2 where the imported terminology should be a standalone copy that you can freely edit, leave the box "Restrict terminology..." unchecked.
Import via link
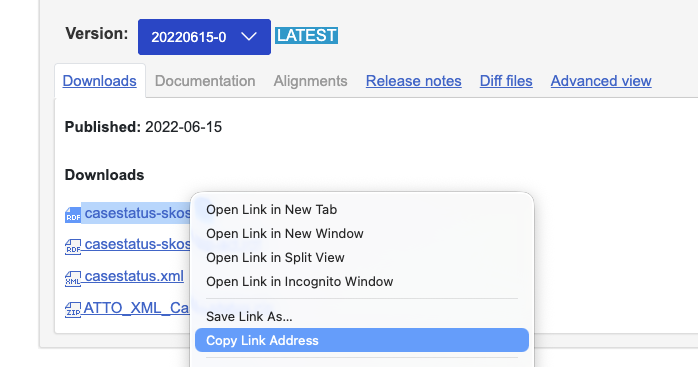
If you want to import a terminology from the web, paste a link to a file in RDF/XML format. For example, you can find links to standardized terminologies with authority codes and labels on the page EU Vocabularies. Copy the RDF link below "Downloads" paste it in the link field in the dialog that opens when you click the button "Import" in EntryScape Terms.
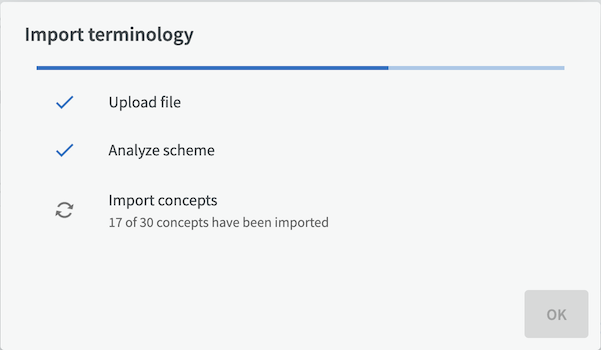
When you click on the "Import" button, the process of uploading, analyzing and importing the terminology into EntryScape Terms starts. If there are a lot of terms, it may take a while to finish. (If you need to interrupt the process, just click the refresh button in your browser.)
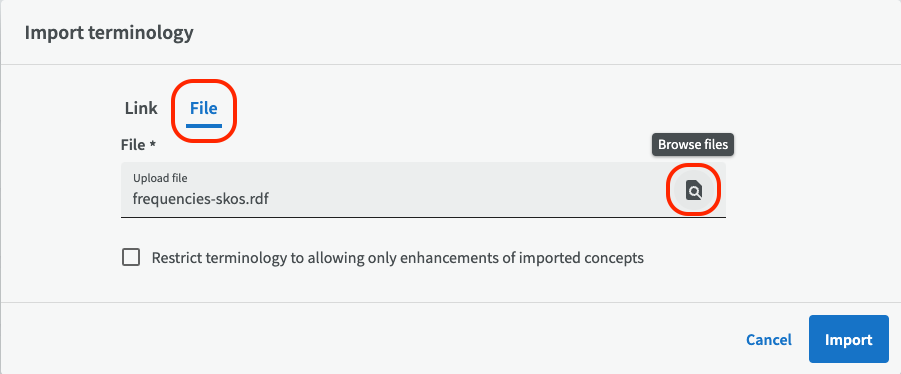
Import via local file
You can also upload a terminology file from a local drive. Click on "File" and then the magnifying glass icon to select an RDF/XML file.
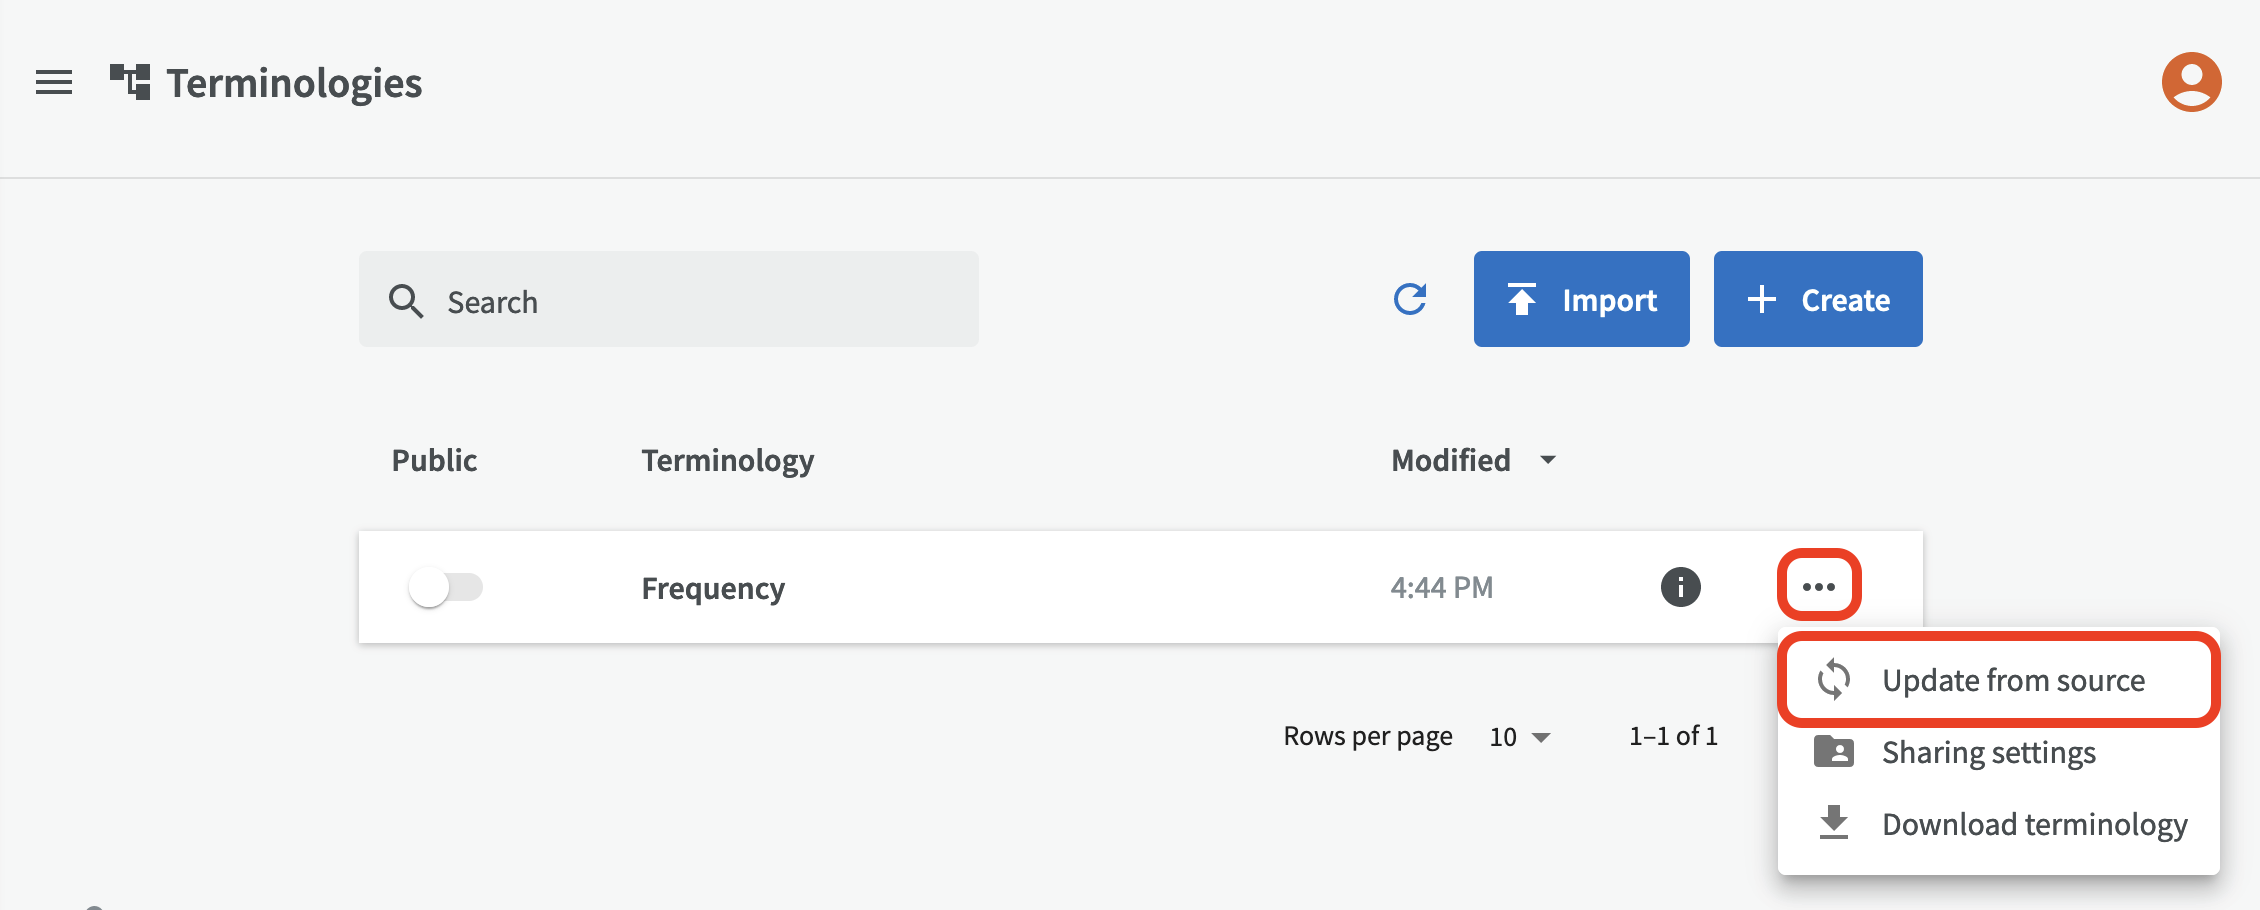
Update a restricted terminology
For terminologies that have been imported as "restricted" and need to be updated from another source, you can update them by clicking the button "Update from source" and provide the link or file to the source (RDF/XML format). Only group admins can update a restricted terminology from a source.
Create new terminology
To create a completely new terminology from scratch, click on the "Create" button. Then you enter a name for the terminology and a description. Once you have created your terminology, you can start creating concepts to add to it.

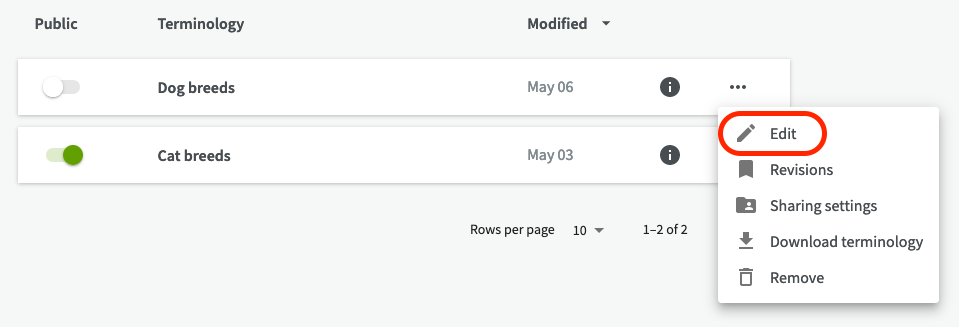
Edit terminology
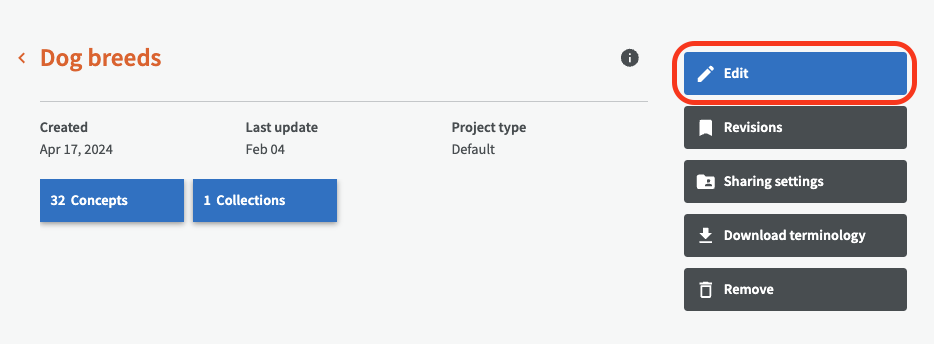
Group managers can easily edit a terminology by going back to the list of terminologies (click on Terms in the left menu). You can either click on the edit pen for a terminology in the list of terminologies, or you can click the button "Edit" on the overview page for a terminology.
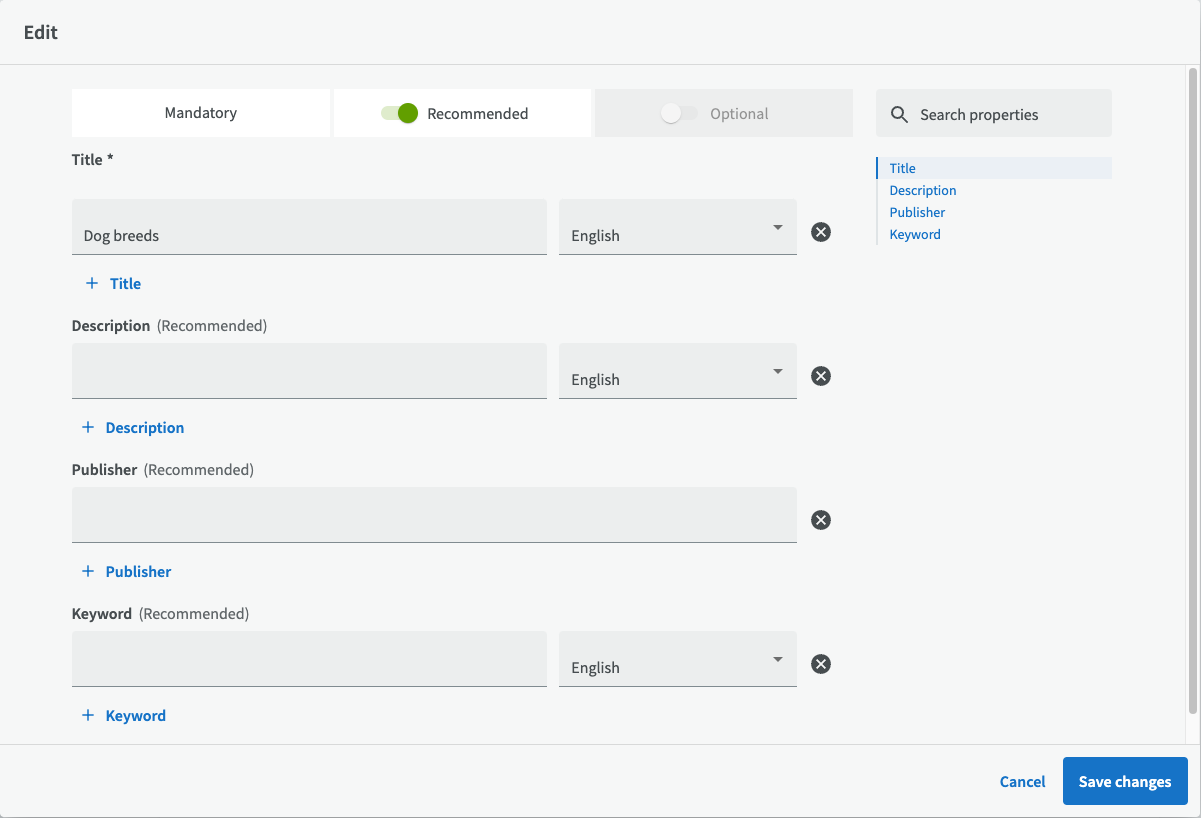
This will open a dialog where you can edit title och description for your terminology, possibly publisher and keywords as well (depending on your configuration).
Field explanations
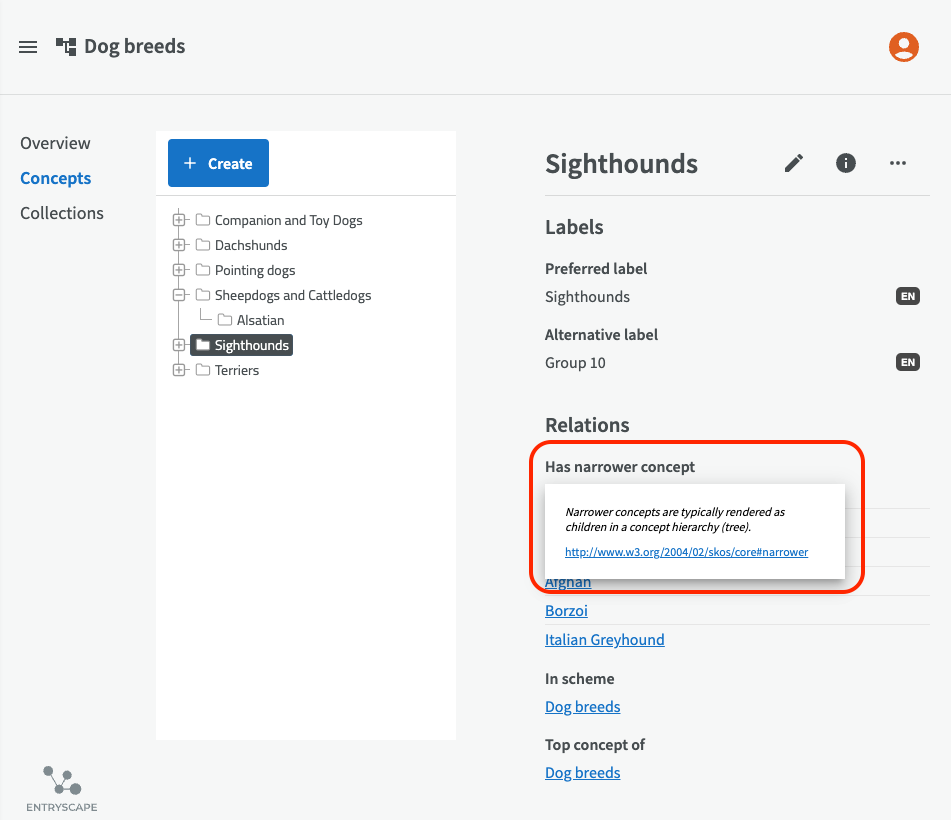
If you click on the question mark next to a heading, a field explanation will appear with tips on what information is expected in the field, as well as any links to additional information.
Concepts
Creating new concepts
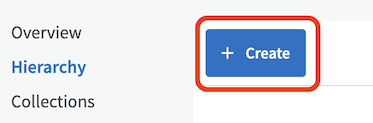
You can create concepts to add to your terminology by clicking on "Create" on the "Hierarchy" page.
Then you can enter a concept name and add it to your terminology.

Please note that it's not possible to add new concepts to restricted terminologies that can only be updated from another source. Although it is possible to enhance the existing concepts by adding extra information, such as translations to other languages etc.
Tree view & list view
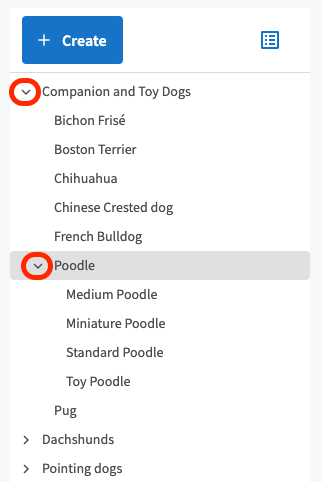
The concepts are displayed in a tree structure by default. Click the arrows on the left to expand the different levels and view the underlying concepts.
Please note that you cannot move concepts around in reused terminologies, which can only be updated from the source.
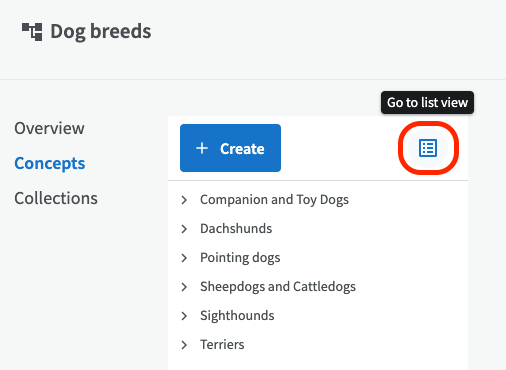
You can also choose to display the concepts in a list. To do so, click the list icon next to the Create button to switch to list view.
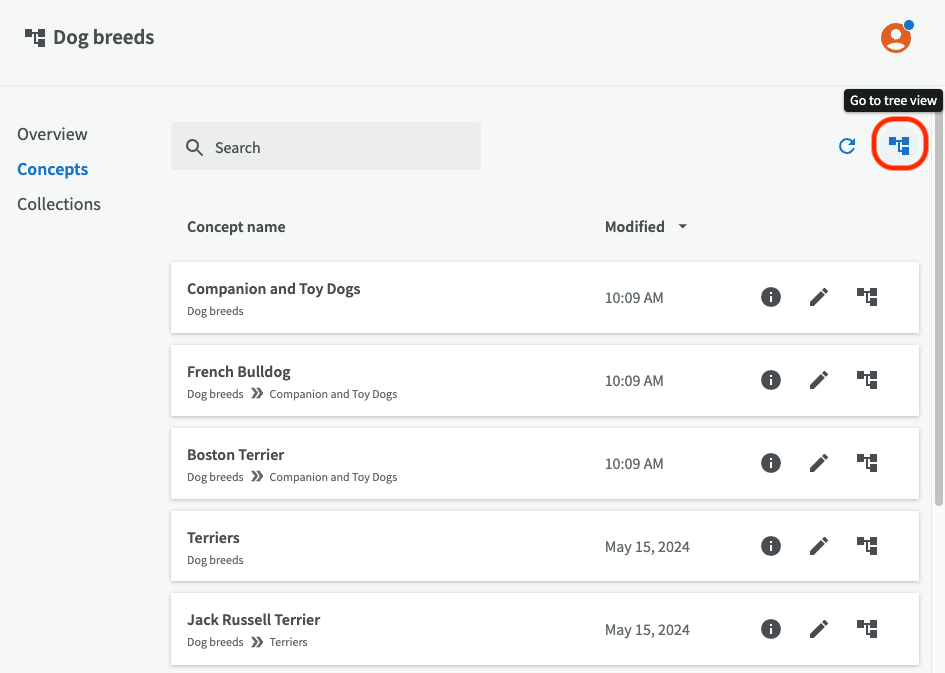
To switch back to the tree view, click the tree icon on the right-hand side.
Organize concepts
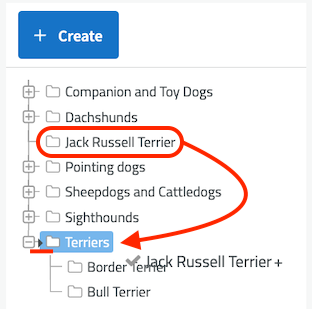
The terms in the tree view are automatically sorted in alphabetical order by level in the tree. You can easily move concepts between different levels in the tree hierarchy by dragging and dropping them where you want them.
Custom order
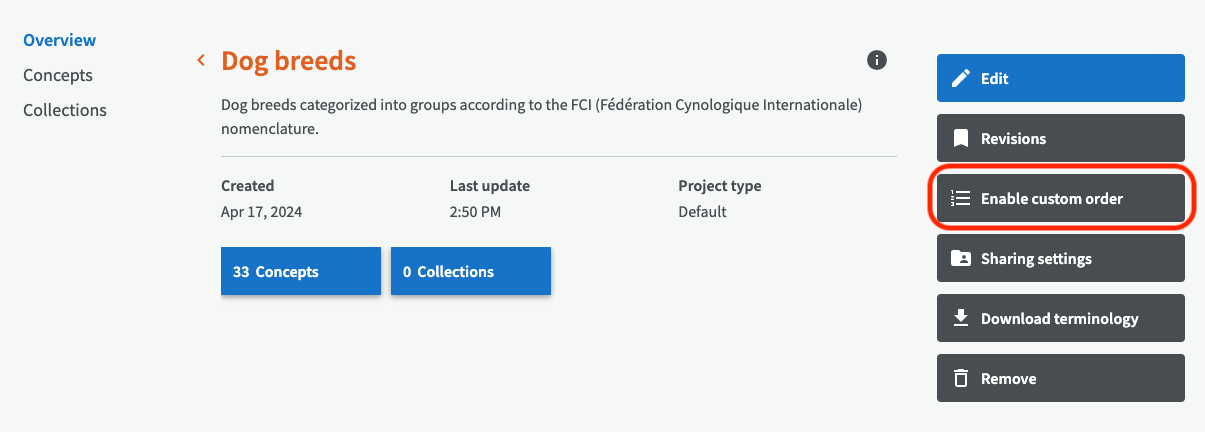
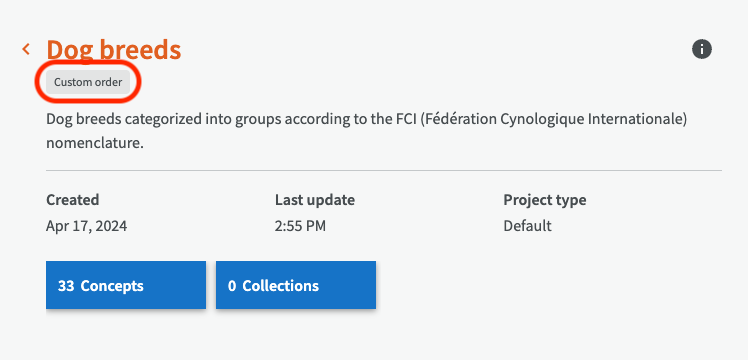
If, instead of alphabetical order, you want to sort your concepts in a custom order, you can do so by clicking the “Enable custom order” button on the overview page for a terminology. Then simply drag and drop your concepts where you want them. The concepts will no longer be automatically sorted in alphabetical order. On the terminology overview page, you’ll also see a “Custom order” label below the terminology name. Only group administrators can enable custom order.
Please note that you can only see your custom order in the tree view. If you switch to the list view, your order will no longer be visible, but it remains in place and will reappear as soon as you view the concepts in the tree view.
Edit concepts
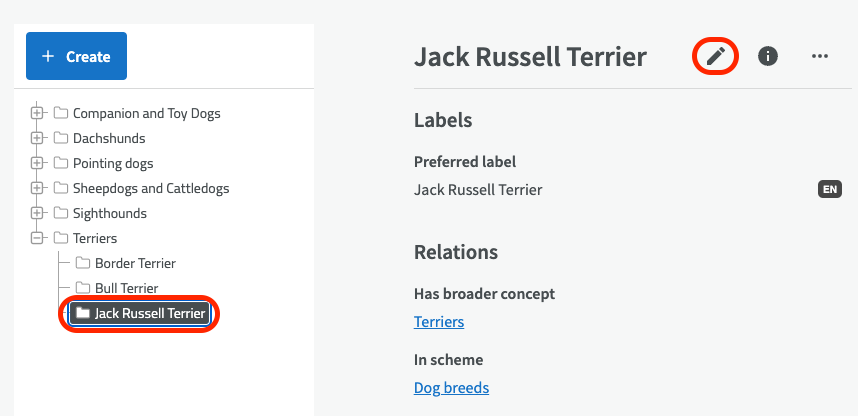
To edit a concept, click on the concept in the concept hierarchy and then click on the pen in the top right corner.
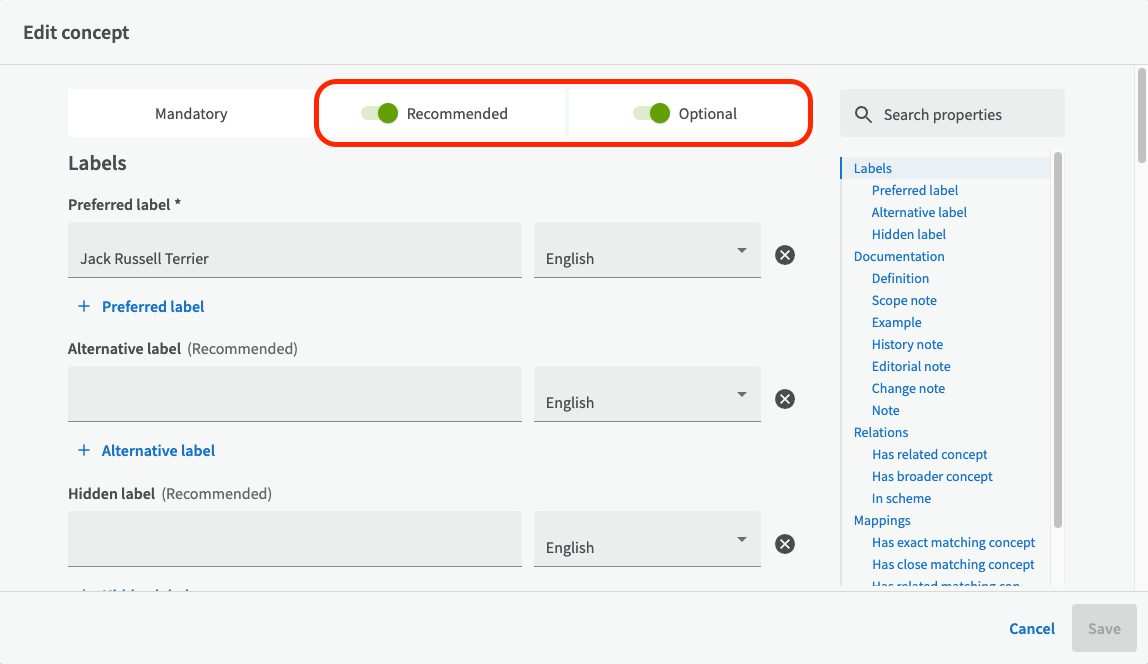
Then you can fill in more information about the concept. The green slide buttons at the top allow you to choose if you want to see Recommended fields and Optional fields.
Recommended fields
Preferred label: The main label for the concept. A concept may have a maximum of one preferred label per language.
Alternative label: A concept can have several alternative labels.
Hidden label: You can also have hidden labels for a concept, e.g. obsolete or outdated names that should be searchable but not displayed.
Definition: A short text that describes the concept. It is important to describe the concept so that it cannot be confused with identical words that have a different meaning.
Scope note: Help text describing the context/scope of use.
Example: A concrete example of what is meant by the concept.
History note: A text describing how the term has evolved and possibly whether the meaning has changed over time.
Has related concept: Concepts that are in different places in a hierarchy but still have related properties that need to be expressed.
Has broader concept: A more generic, broader concept in the same terminology.
Has narrower concept: A subordinate, narrower concept in the same terminology.
In scheme: The scheme (terminology) the concept belongs to.
Top concept of: Is top concept in scheme.
Has exact matching concept: Mapping to a concept that has the same definition and boundary but is in a different terminology
Has close matching concept: Mapping to a concept that is broadly equivalent to another concept in a different terminology
Has related matching concept: Concept with the same scope, but in a different terminology
Optional fields
Editorial note: Information addressed to the editor of the concept.
Change note: Note corresponding to the editor's changes over time.
Note: Extra field for notes that do not fit in other fields.
Has broader matching concept: A parent, broader concept that is in a different terminology.
Has narrower matching concept: A subordinate, narrower concept that is in a different terminology.
Remove concept
To remove a concept, select the concept in the hierarchy, click on the three-dot menu and select "Remove".
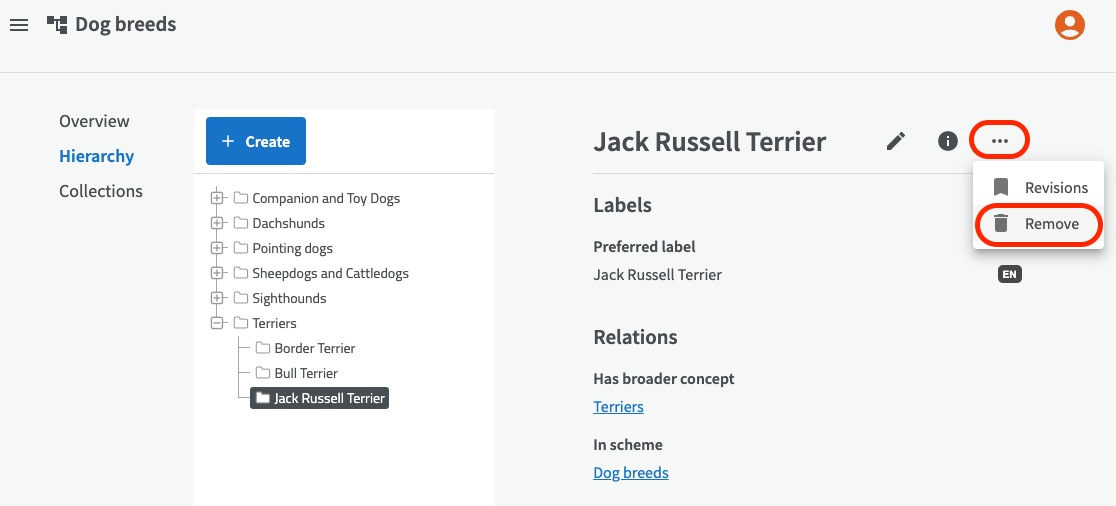
Please note that you cannot delete concepts in reused terminologies that are linked to an external source.
Publish terminology
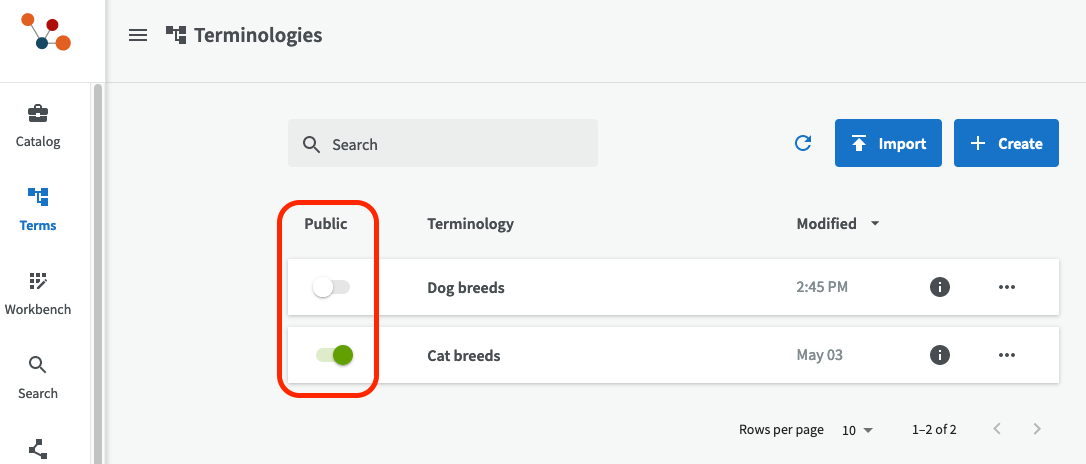
When your terminology is ready for publication, go to your list of terminologies (click on "Terms" in the main menu) and publish it using the green publish button. You can just as easily unpublish it with the same button. Only group admins have permissions to publish/unpublish a terminology.
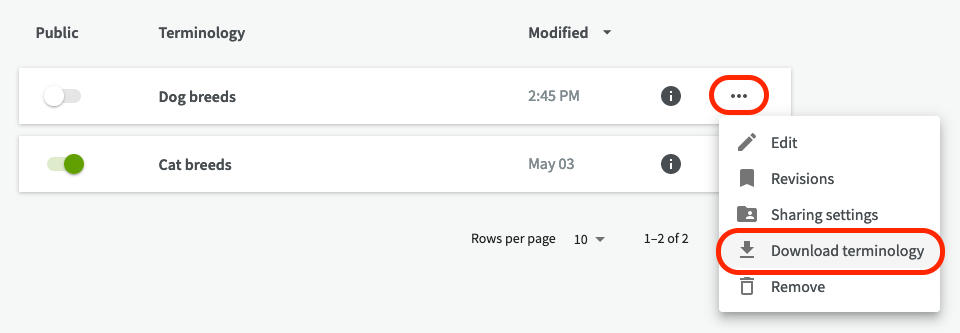
Download terminology
You can download a terminology by clicking on the button "Download" on the overview page for the terminology. Please note that the download will include all concepts belonging to the terminology, but no collections.
Also, if you have an enhanced terminology, please download the file directly from the source instead. If you download it from EntryScape, there is a risk that the downloaded file will contain errors.
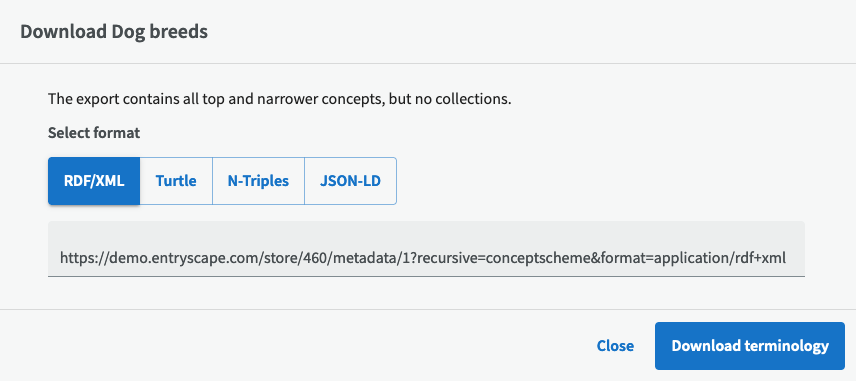
Then you choose format for your downloaded file: RDF/XML, Turtle, N-Triples, or JSON-LD. Click on the download arrow to save the file locally.
Note: If you have a reused terminology, download the file from the source instead. If you download it from EntryScape, there is a risk that the downloaded file will contain errors.
Remove terminology
If you want to remove a terminology, just go to the overview page for the terminology and click the "Remove" button. Please note that a removed terminology cannot be restored. Only group admins have permissions to remove a terminology.
