Diagrams
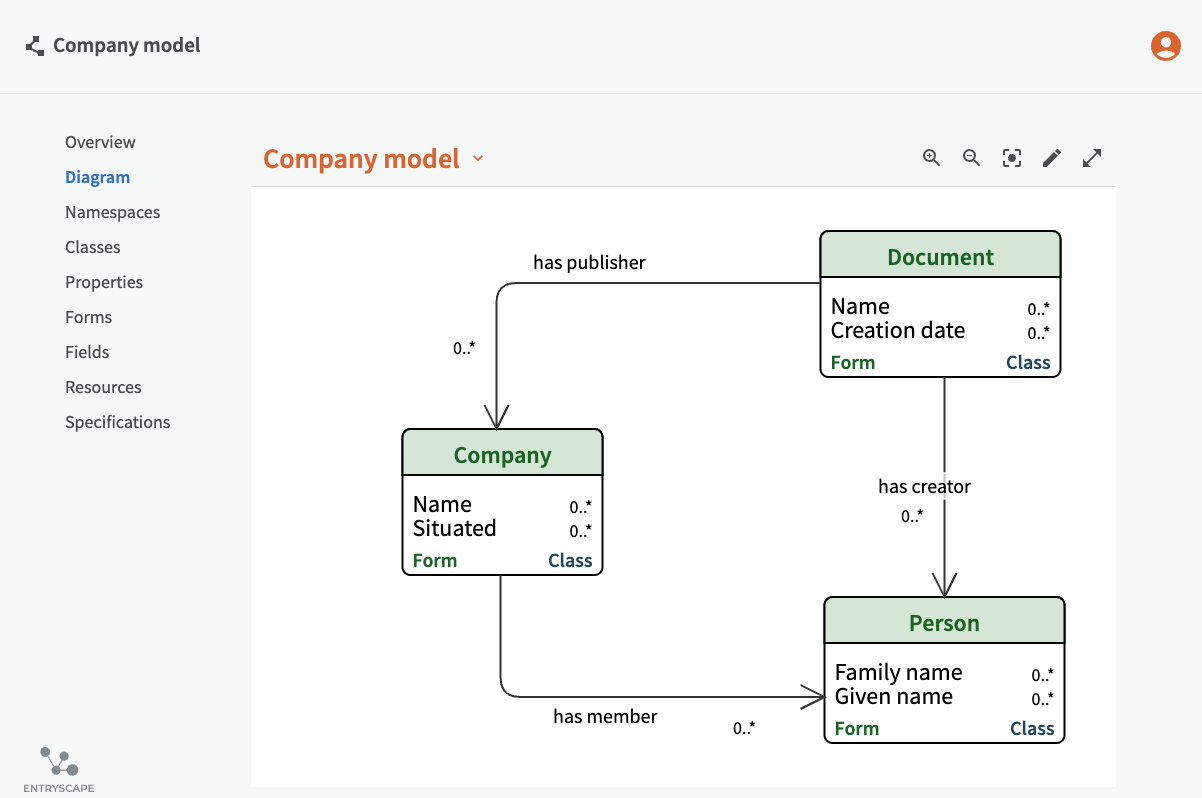
Your model is automatically visualized in an autogenerated and editable diagram.
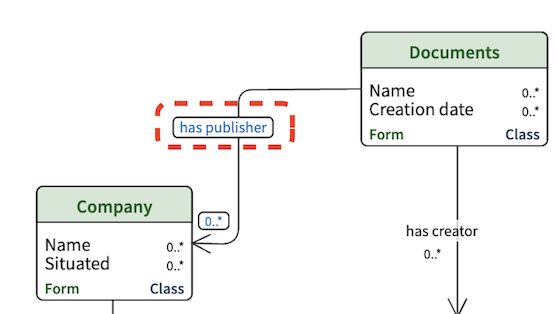
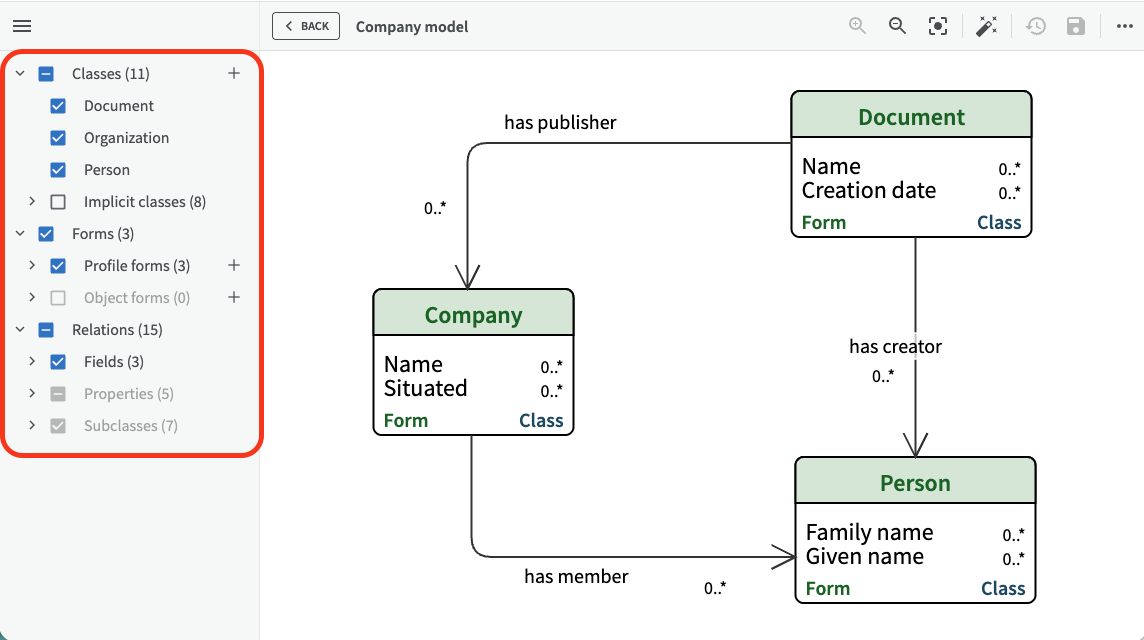
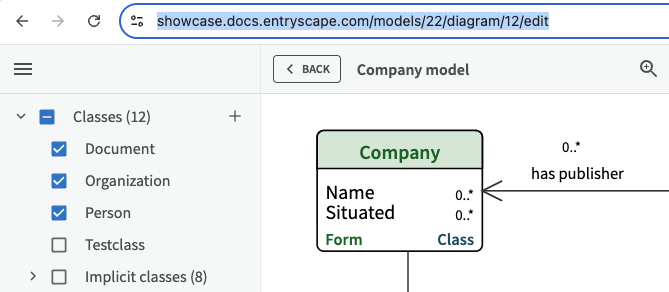
In the diagram, classes are blue, implicit classes are gray, forms are green and relations with fields are symbolized as arrows. Green forms connected to a class is shown on top of the underlying blue class. Implicit classes are classes that are outside of the model, but are referred to by classes or properties inside the model.
Create diagram
An unnamed diagram is automatically created to your models by default. You can see the complete list of diagrams belonging to a model by clicking the arrow next to the diagram name. You can also create a new diagram by clicking "Create new diagram" at the bottom of the menu.
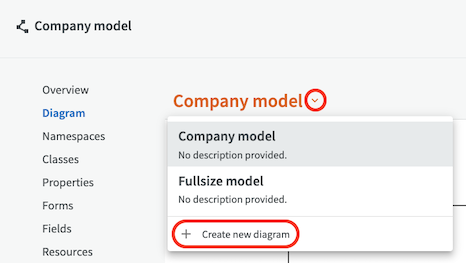
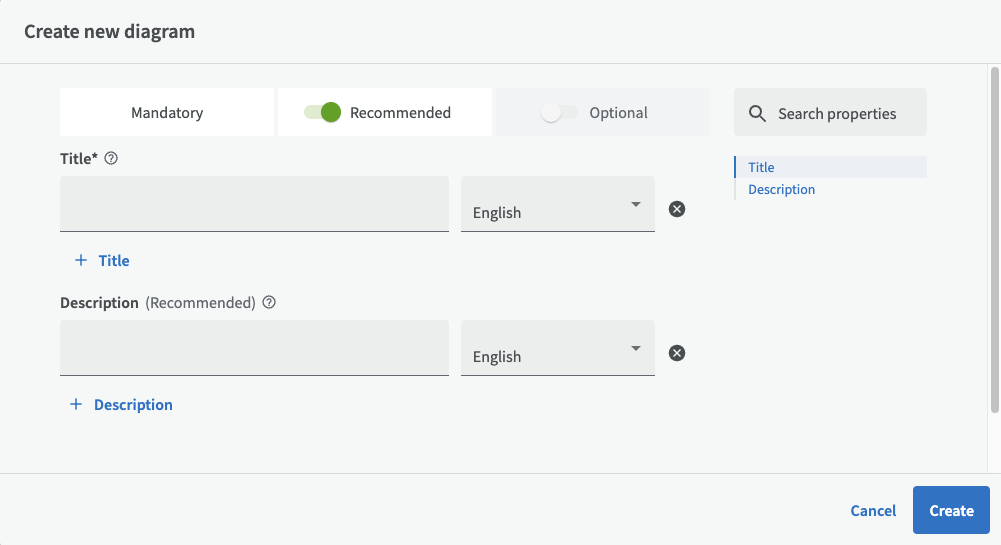
This will open up the Create new diagram dialog.
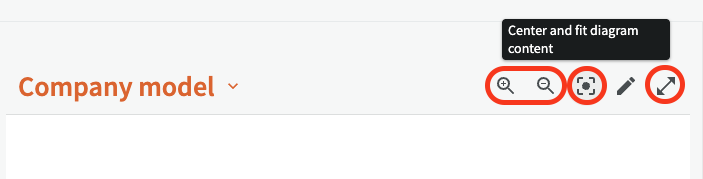
Zoom, center and fit, full size
On the top right you can use zoom icons to zoom in and out, center and fit the diagram, or show it in fullsize mode.
See details
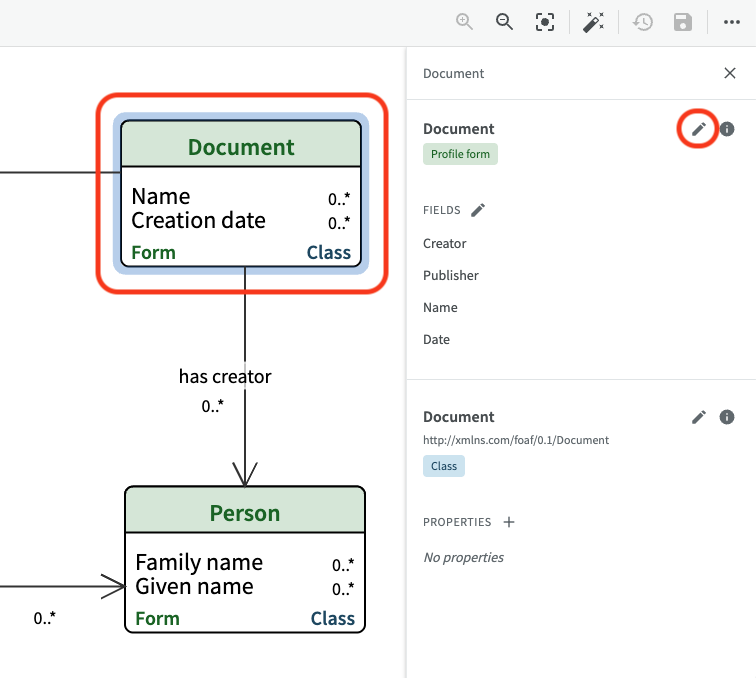
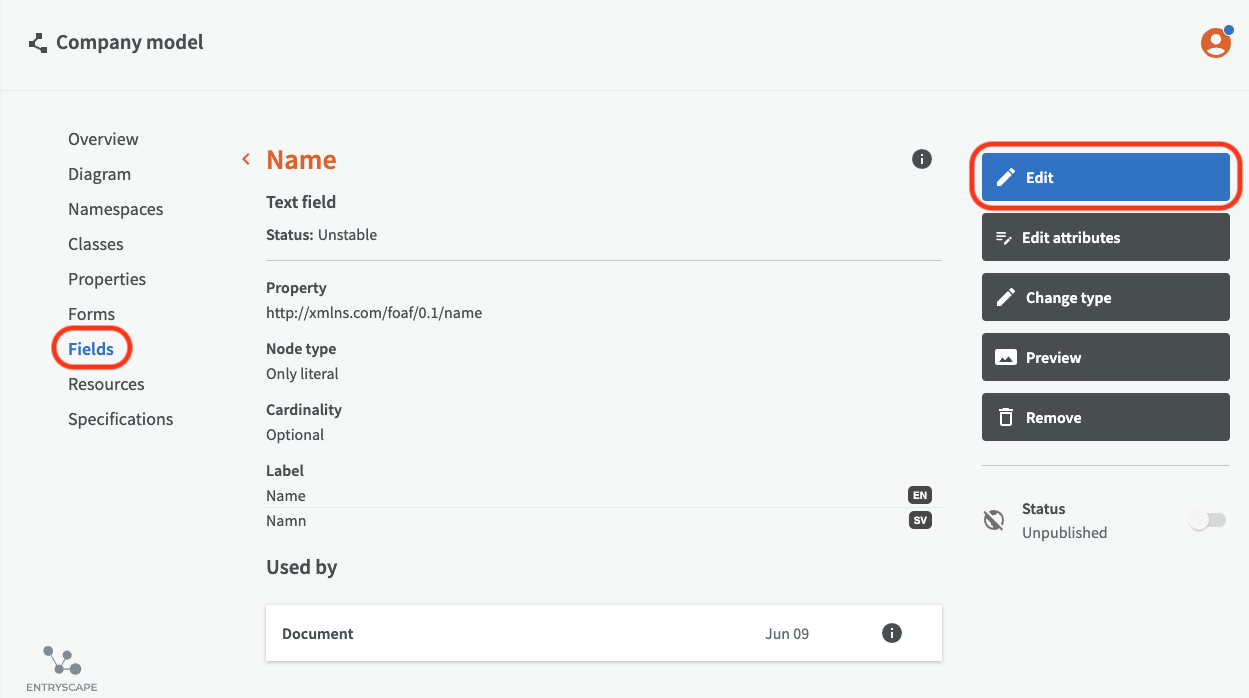
You can click on an item in the diagram to see details for the item. There is also a link to the overview page where you have more options to review and edit.
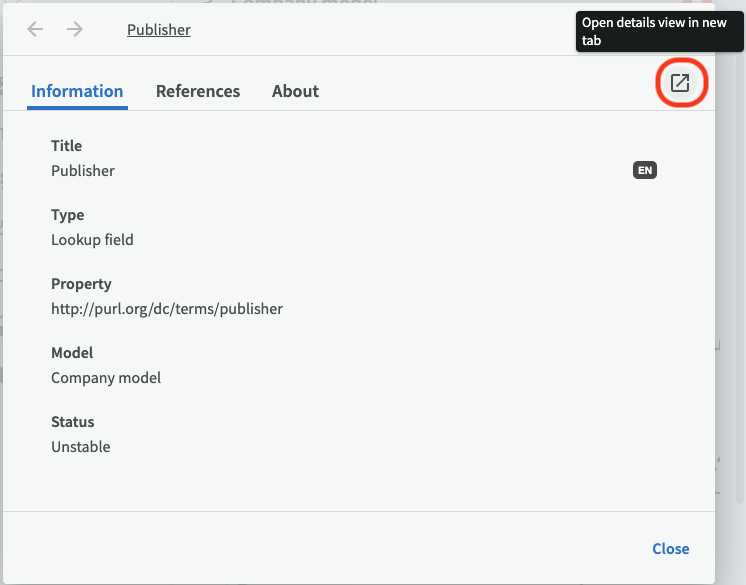
First, you get the general detailed information about the item. There you can click on the link to get to the overview page.
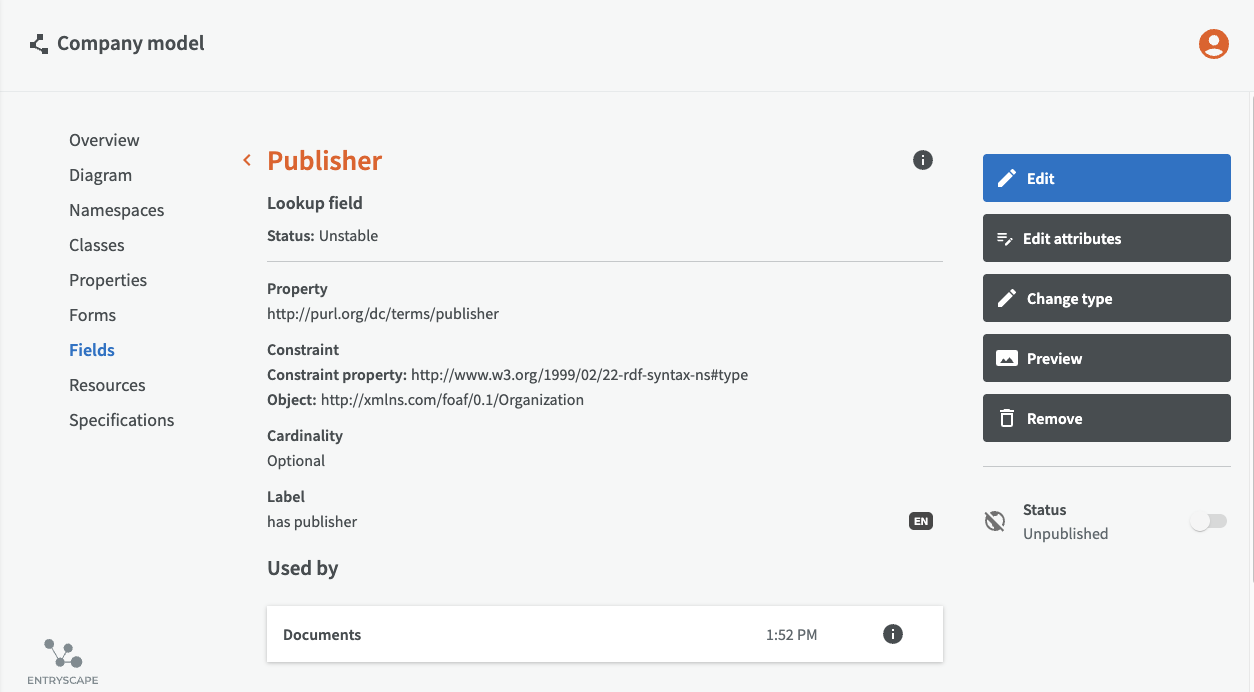
In the overview you can review and edit more through the button menu.
Edit diagram
To edit your diagram, click the edit pen on the top right. The diagram then opens in edit mode.

Hide or show items
The tree view panel on the left shows your classes, forms, and relations where you can click to hide or show parts of the diagram. If you want to see your diagram in fullscreen, you can hide or show the tree view panel by clicking on the three lines at the top left.
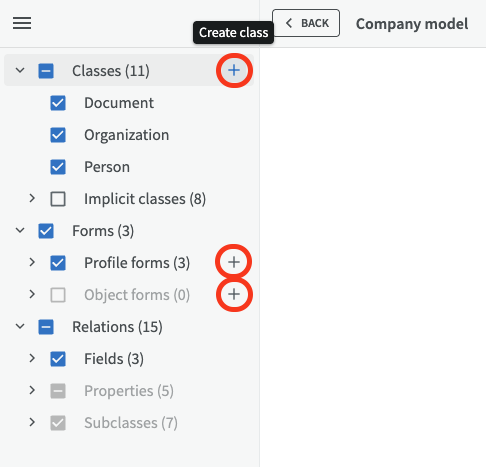
Create classes and forms
You can easily create new classes and forms in your model via the plus buttons in the tree view panel on the left side.
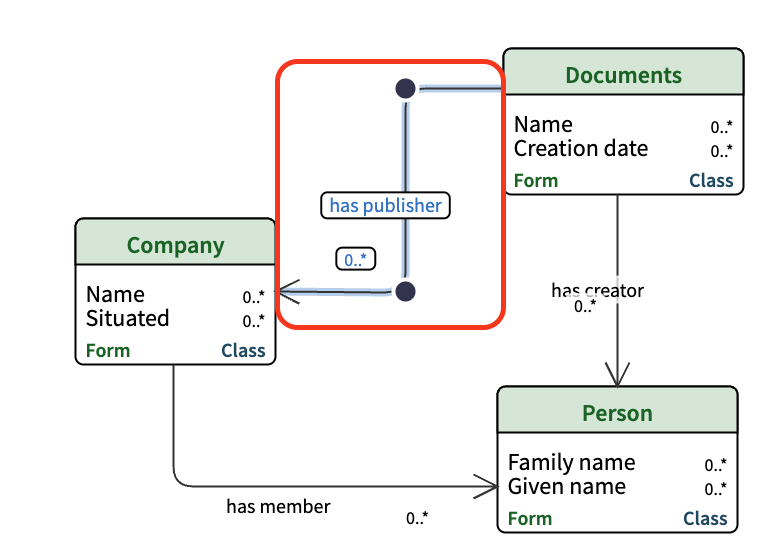
Rearrange items
In edit mode, you can click and drag boxes and arrows around to rearrange the diagram. Arrows will automatically follow boxes when they move.
You can also double click an arrow until a black dot appears, to create an arrow turn. Then click and drag the arrow through the black dot to where you want it. You can create multiple arrow turns by creating several black dots. To delete a black dot, double click it.
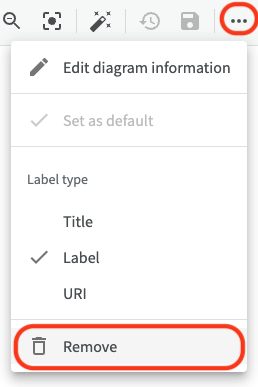
Edit diagram information
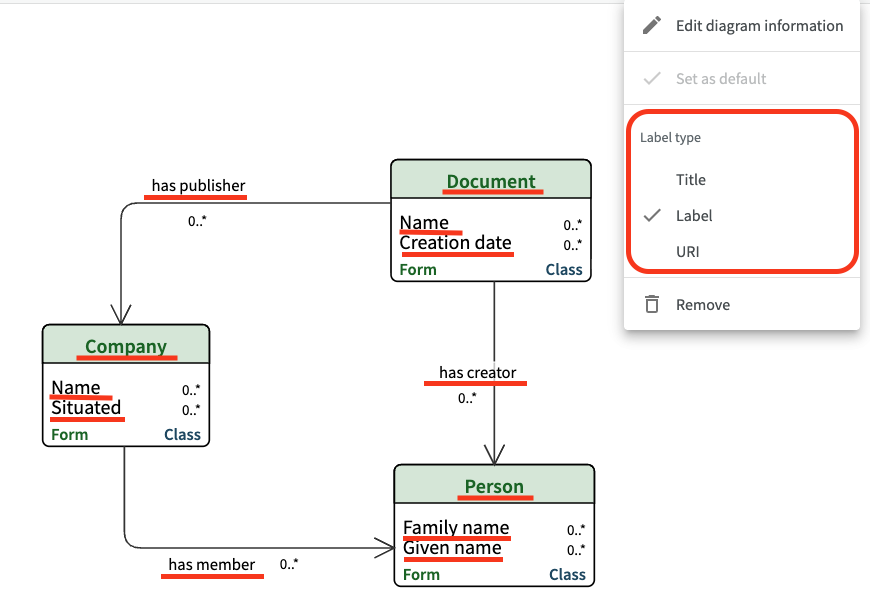
The three-point-menu on the top right opens up options to edit the diagram information, set diagram as default diagram, choose which label type you want to use or remove the diagram completely.
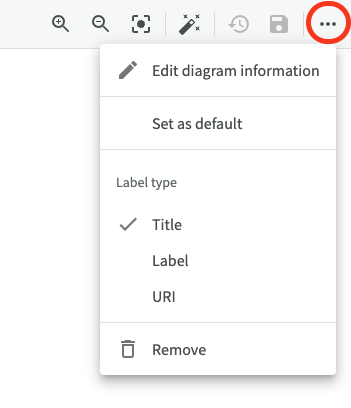
If you click on "Edit diagram information" you can change the title and description of the diagram, and add titles and descriptions in other languages.
With the Label type options you can choose which field (Titel, Label or URI) to display on the forms, classes and relations in the diagram.
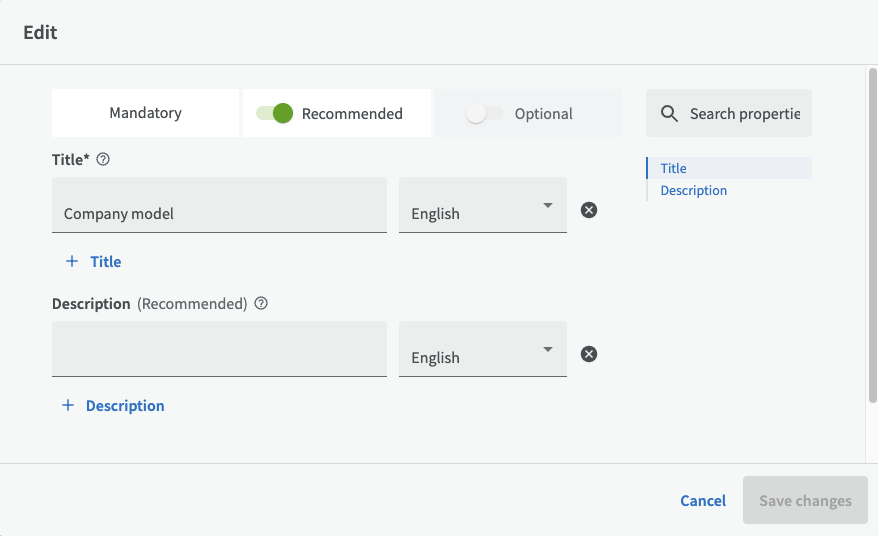
To change the label text on forms and classes, click on the form/class boxes in the diagram to open up a side panel. There you can reach the edit dialog by clicking on the edit pen.
Then you can choose whether to change the title text or the label text further down.

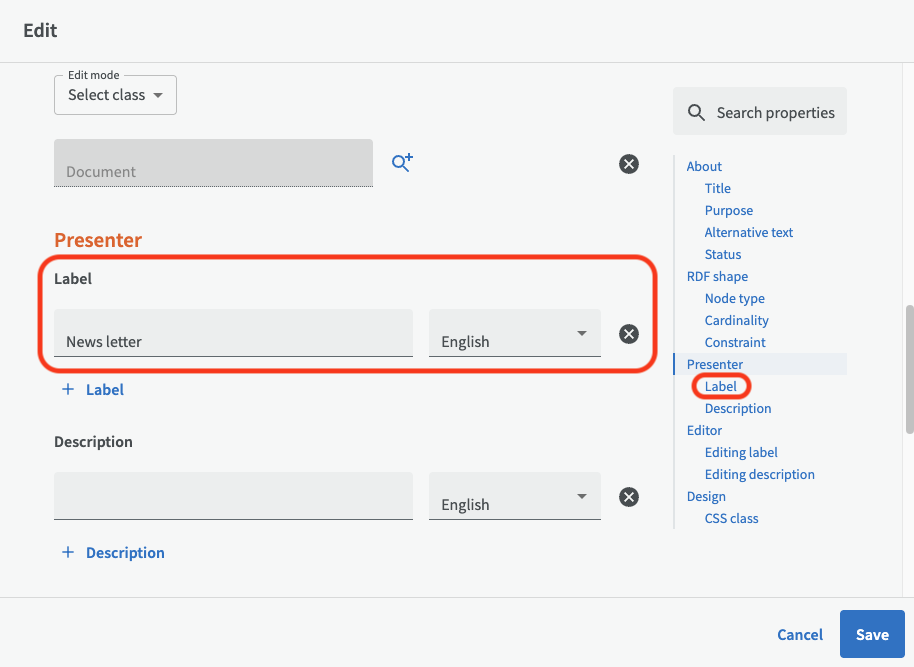
To edit label text for fields, you need to go to the corresponding field in the main menu and click the Edit button, to reach the edit dialog.
Add or remove fields
By clicking the edit pen next to Fields, you can add or remove fields.
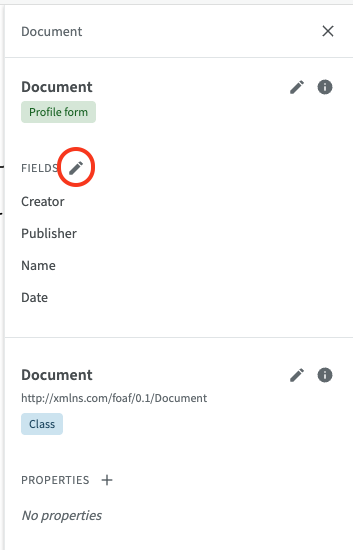
This opens up the Manage fields dialog where you can add a field by clicking the plus button or remove a field by clicking the three-point-menu and choose "Remove".

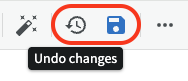
Save or Undo changes
You can also undo changes in your diagram and restore to the last saved version (meaning you undo the latest visible changes within the diagram) by clicking the the undo changes icon. You save your diagram by clicking the save icon.
Go back to main view
To close edit mode and go back to main view, click on the Back button next to the diagram title up on the left.

Share diagram link
When in edit mode, you can share your diagram with others by copying and sharing the URL in the browser.
Export diagram
If you want, you can export your diagram as a png or svg image. Read more about exporting diagrams under Resources.
Remove diagram
To remove your diagram, click on the three-point menu and choose "Remove".