Suggestions
Suggestions for datasets
There are several ways to create datasets in EntryScape Catalog. For example you can start by creating a suggestion for a dataset, which is a draft of a dataset in creation. It is recommended that you work with suggestions if you do not yet have all the information you need to describe the dataset or if details need to be looked up before it can be published.
Search for suggestion
First of all, it's a good idea to check that the dataset or suggestion that you want to create doesn't already exist or has been initiated by someone else. Use the search function, found in Suggestions and Datasets respectively. Write at least 3 characters to get a result matching the title of the suggestion or dataset.

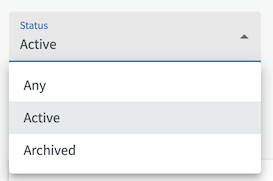
Note! The search function filters according to the filter settings below, so if you want to search among archived suggestions as well, set the search filter to 'Any' before searching.
Search filter
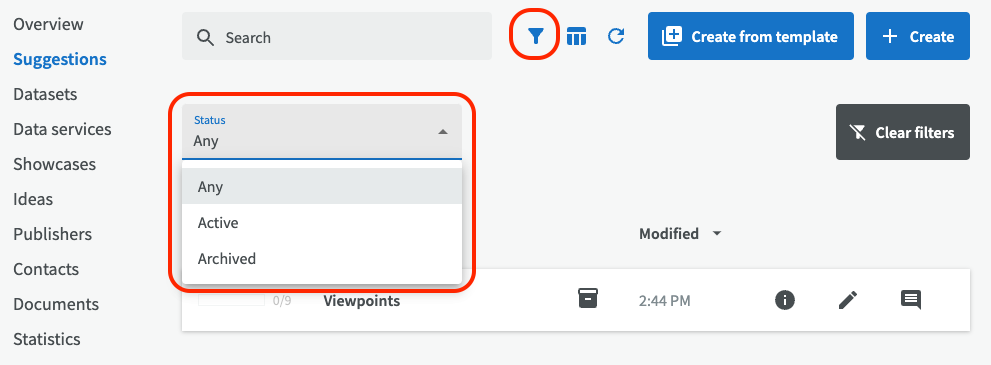
You can also filter your search results using the search filter. On the suggestions page, you can choose to view any suggestions, only active suggestions, or only archived suggestions.
On the datasets page, there is a more comprehensive filter function with more filtering options.
Create suggestion
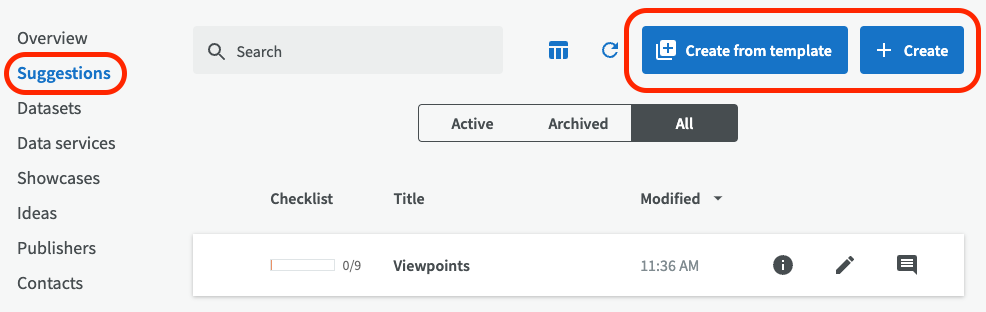
In Suggestions you will find a list of the already created suggestions for datasets that you have access to. To the left there is status bar showing the number of requirements fulfilled for the suggestion to be upgraded into a publishable dataset. More information on how the checklist for requirements can be found in the section "Fulfilling the requirements checklist" below.

New suggestions can be created in two different ways: You can either create a new suggestion from scratch, or you can create (copy) a suggestion using an existing template.
Click on "Create" to create a new suggestion for a dataset or click on ”Create from template” to start from an existing concept.
When you create a suggestion from scratch, you see the following view:
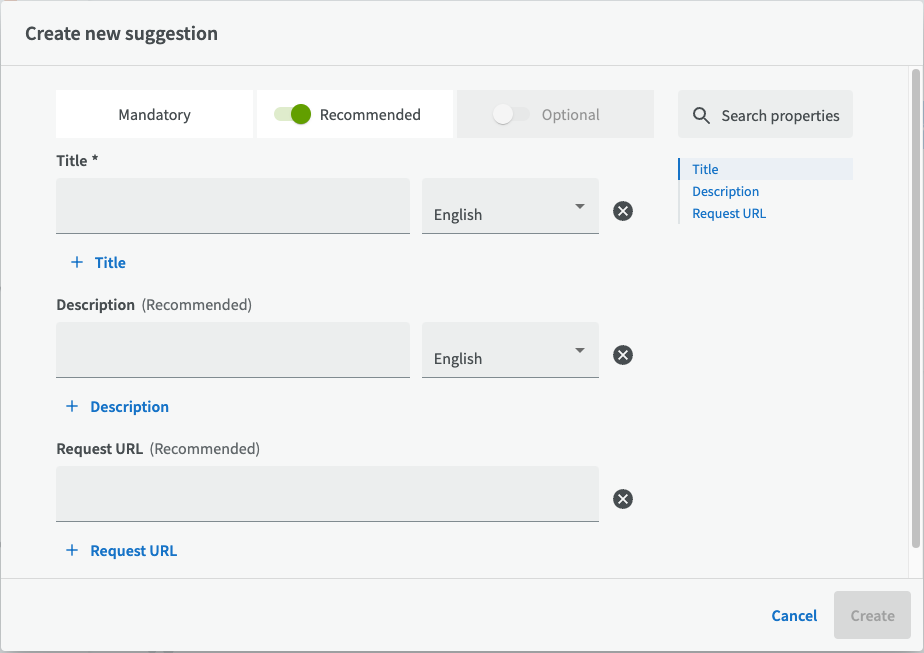
Here you describe your suggestion for a dataset. The mandatory field Title will be the same as for the future dataset. It is advised that you give it the same name as the information it contains or a subset of the information it contains. Remember that the title should be concise and specific, so it will be easy for others to search for. After that you enter the recommended field Description. The description should make it clear to the user what the dataset contains.
Request URL is not frequently used yet, but it can come to play an important part in the future for open data.
When an adequate title and description has been entered, click on "Create" at the bottom.
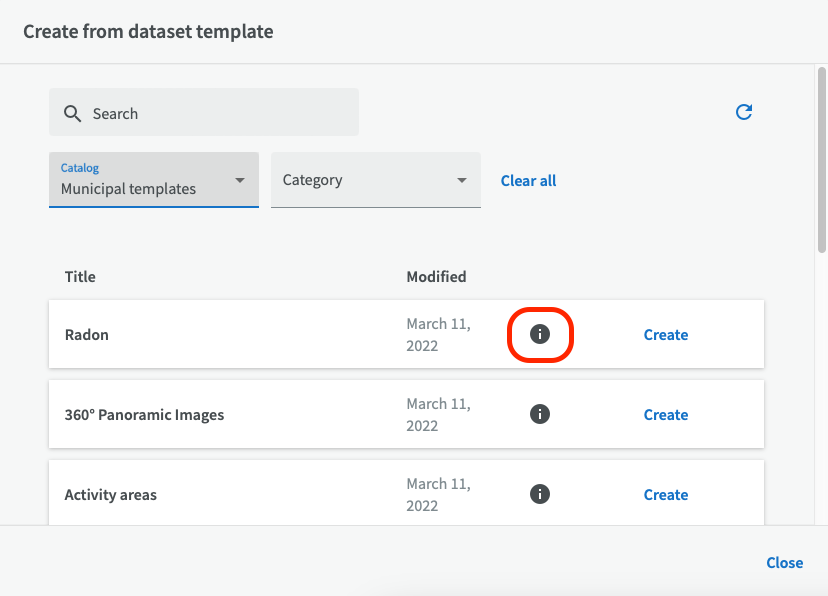
If you wish to create a suggestion using an existing template, click on ”Create from template” to get a list of all available templates to choose from. You can see more detailed information for the template by clicking on the information icon. (Read more about how detailed information works.)

When you have found a suitable template, click on "Create" to create a new suggestion based on the selected template.
Edit suggestion
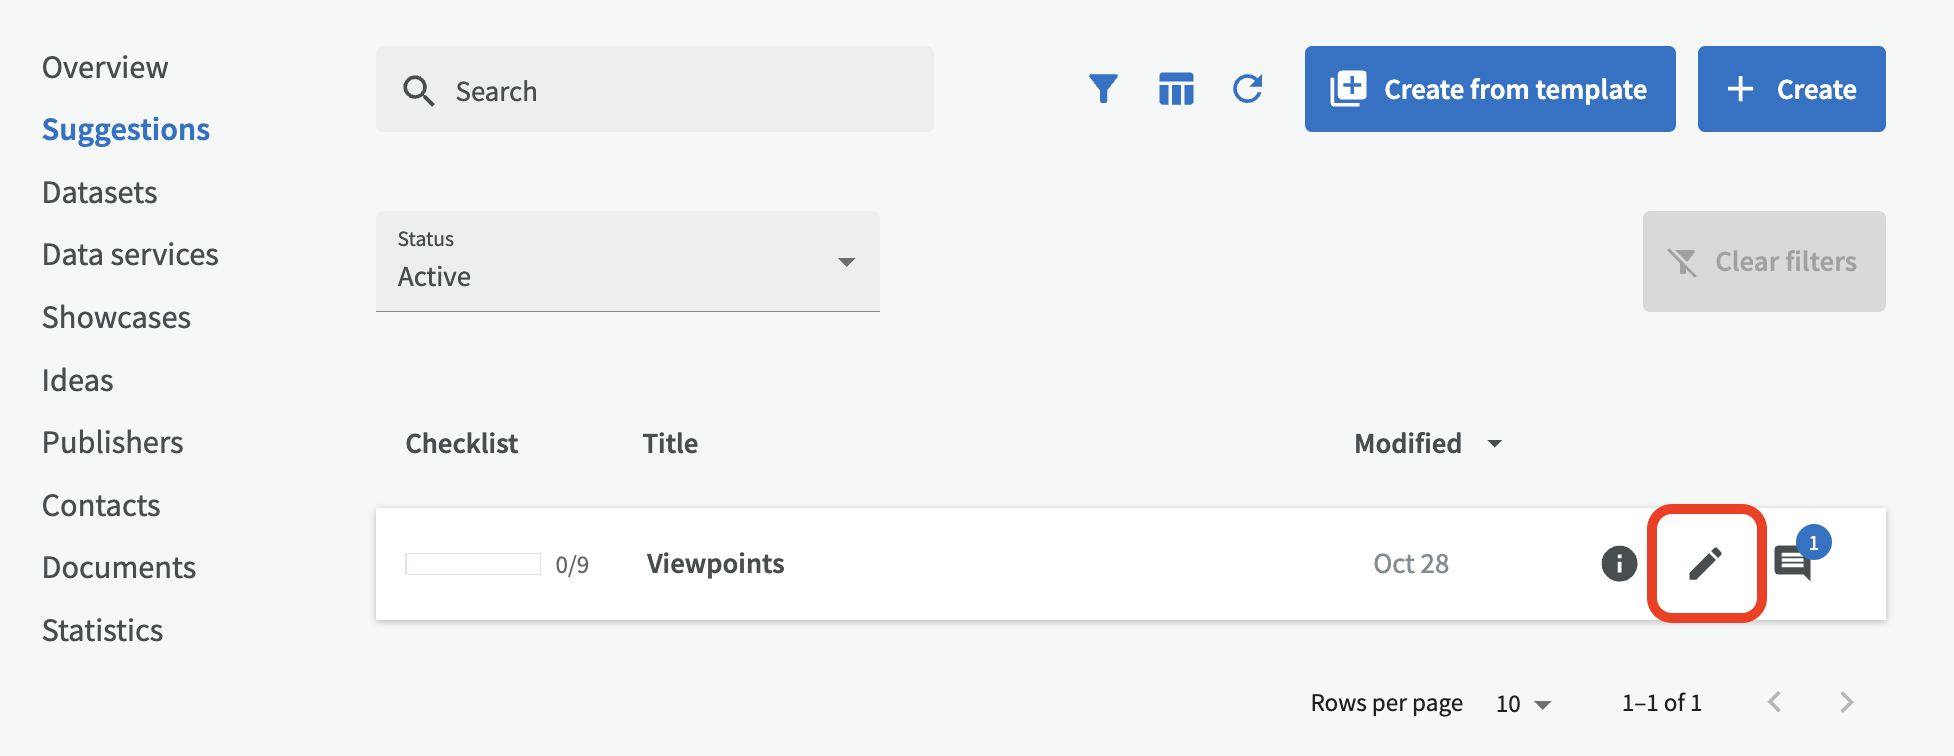
If you want to edit your suggestion, click on the edit pen on the right side in the list with suggestions.
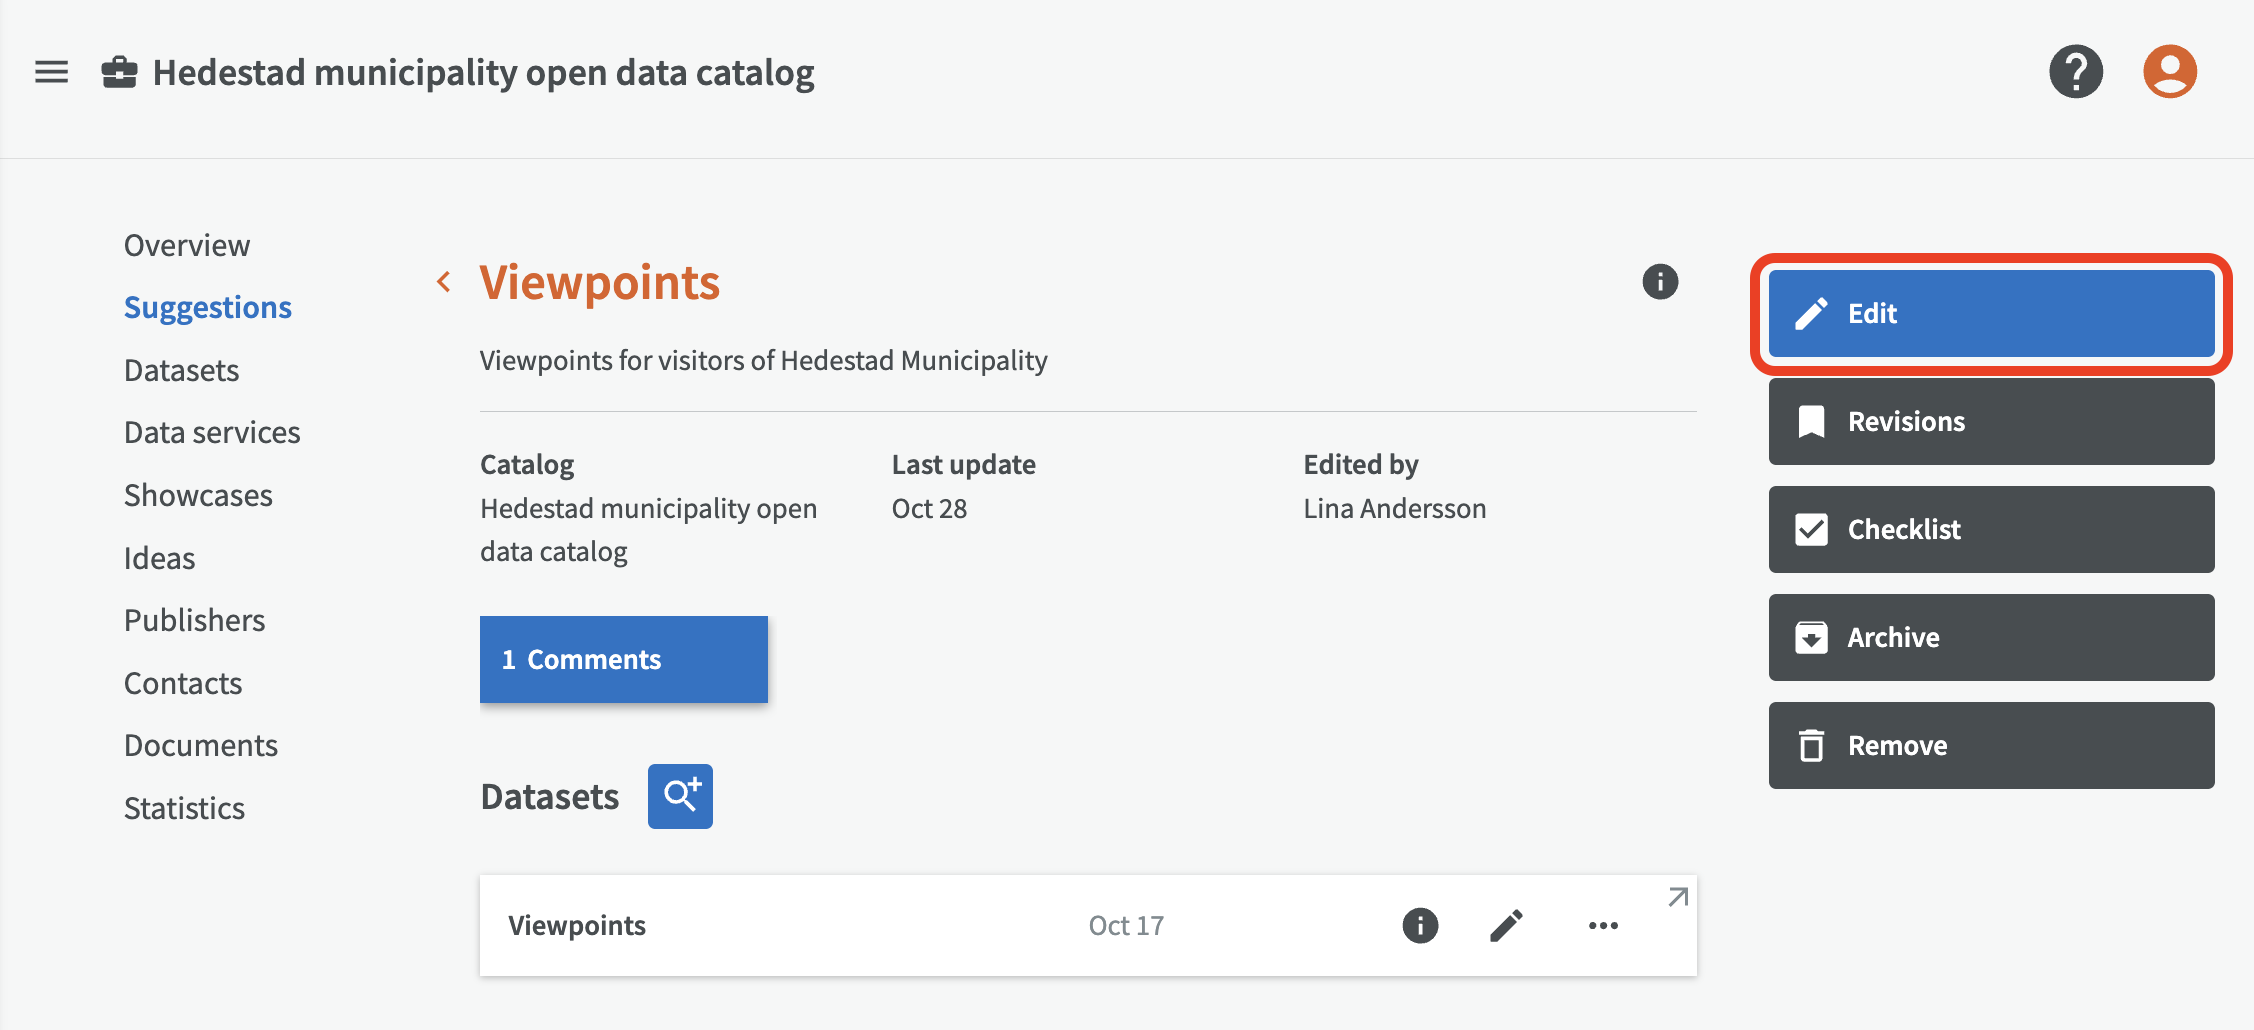
Or you can go to the suggestion overview page and click the Edit button.
Fulfilling the requirements checklist
In order to upgrade your suggestion to a publishable dataset, the suggestion should ideally fulfill a number of requirements for data publication. EntryScape Catalog provides a checklist to help the user to make sure that recommended requirements for the suggested dataset are fulfilled before publishing the data, e.g. copyright and ownership rights. To start working with the checklist, click on the status bar below "Checklist".

The top three requirement statements in the checklist have red exclamation marks, which means that they are strongly recommended to check before moving on to creating and publishing a dataset based on the suggestion. The first requirement states that the dataset does not contain confidential or personal information. The second requirement states that copyright and ownership rights have been cleared. The third requirement states that the data owner within the organization has been identified.

It's good to tick off additional requirements about the dataset, e.g. if there is a maintenance plan for the dataset or not. When you have saved your checklist answers, the status bar in the list with suggestions will reflect how many of the requirements that are met and if the top three, most important requirements have been met the status bar turns green.

Comments
If you need to postpone filling in some of the information about your suggestion, you can add a comment instead. It can serve as a helping reminder for yourself or colleagues that will continue preparing the suggested dataset. Click on the comment icon on the right side to add comments to your suggestion or dataset.

Fill in subject and comment.
The number of comments belonging to a suggestion is indicated by a blue circle on the comment icon in the list of suggestions. Comments can easily be edited or removed.

Create a dataset from a suggestion
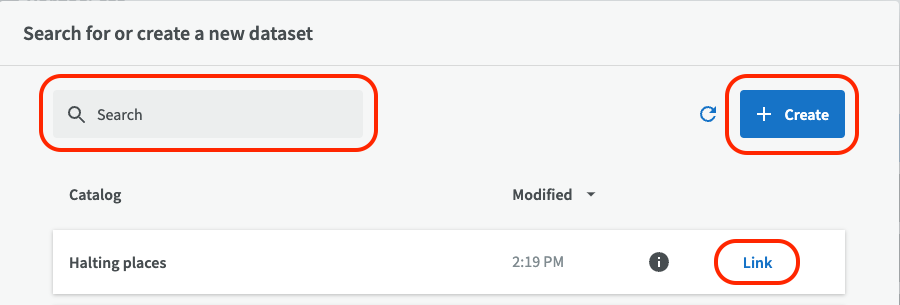
If your suggestion is described correctly, you can create a dataset from a suggestion to be able to publish it. Click on the suggestion and then click on the magnifying glass button next to "Datasets".
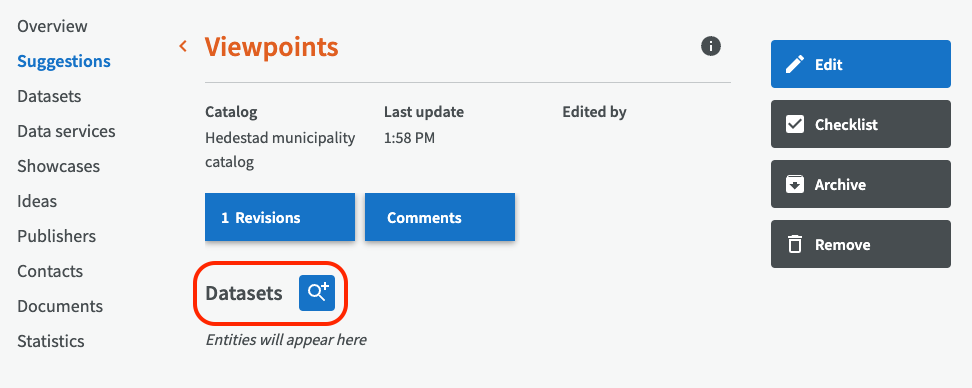
Now you can choose to create a dataset from your suggestion by clicking on the "Create" button. You can also search for an already existing dataset and link it to your suggestion.
If you create a new dataset from your suggestion, you can look over your title, description and publisher. You can also enter more recommended or optional information about your dataset. When you click on "Create", the new dataset is automatically added to your list with datasets, but your suggestion will still remain in the list of suggestions, since it's possible to create several different datasets based on the same suggestion.
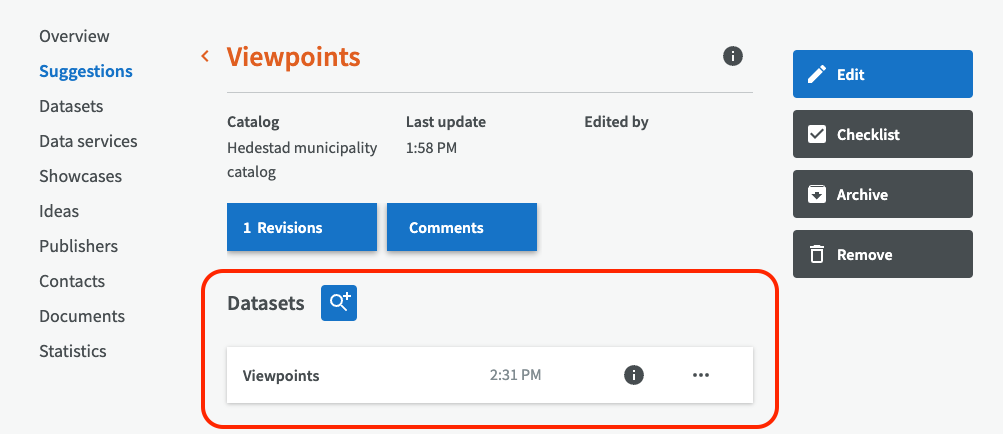
On the overview page for your suggestion, you see the list of linked datasets at the bottom.
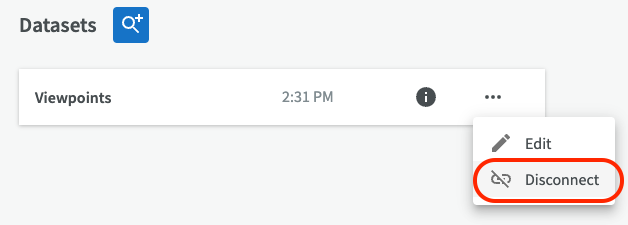
If you wish to remove the link between a dataset and a suggestion, click on the three-point menu for the dataset and choose "Disconnect".
Archive or remove suggestions
Suggestions that are no longer actively being worked on can either be archived or removed. You can archive a suggestion by clicking on the button "Archive". By clicking on "Remove" you can also permanently remove a suggestion. A removed suggestion can not be restored.

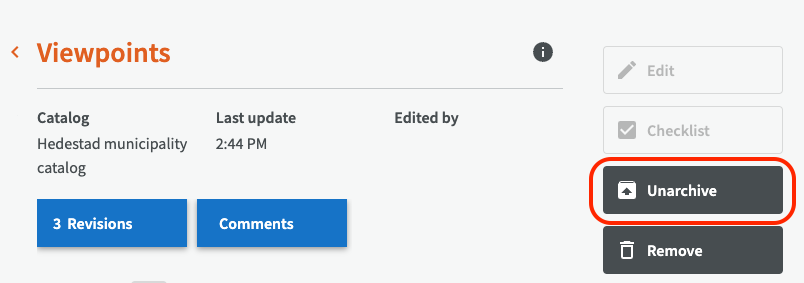
Archived suggestions can be found by using the filter menu and choosing to show "Any" or "Archived" suggestions.
It's easy to unarchive a suggestion, by clicking on the button "Unarchive".